


Tutorial #3 - How to connect an electrical plug?
- 13 Feb, 2015
- Assembly Instructions
- 0 Comments

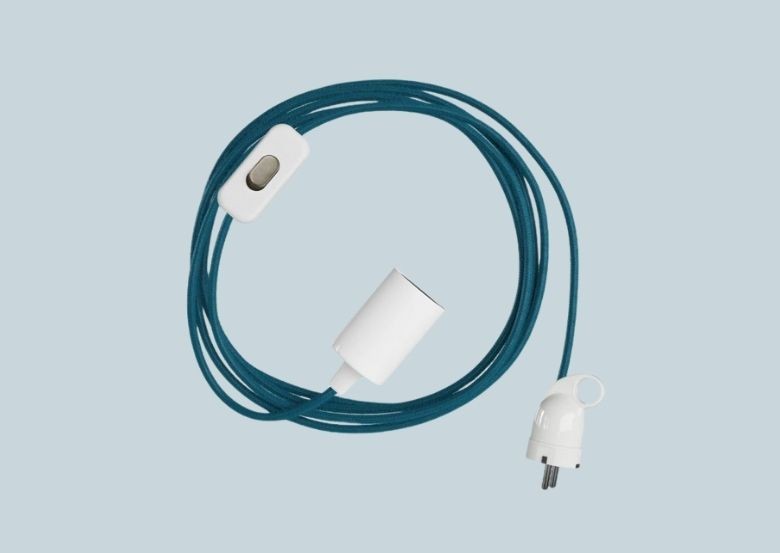
We have reached the third episode of our Tutorial! After learning how to strip our textile cables and then how to connect a lampholder, today we will see how to connect the electric plug: a very simple and quick gesture, but precisely for this reason it is worth learning to do it yourself, saving time and money, without the need to call an electrician.
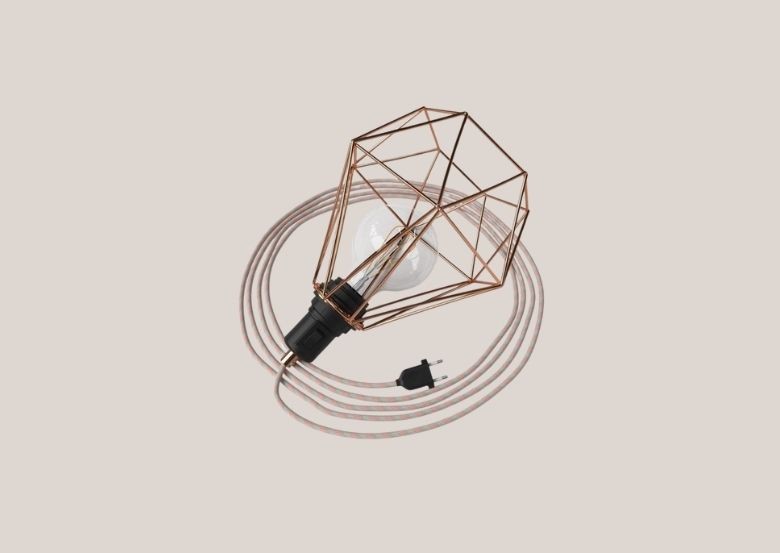
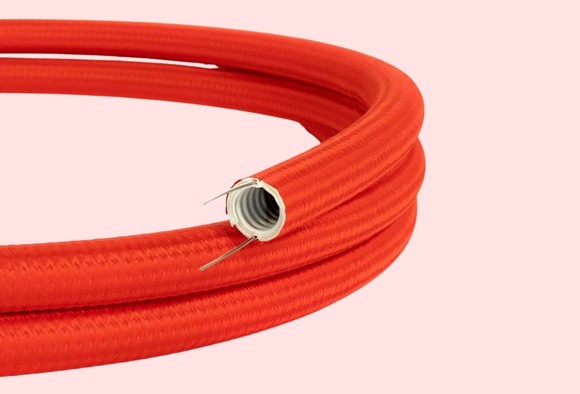
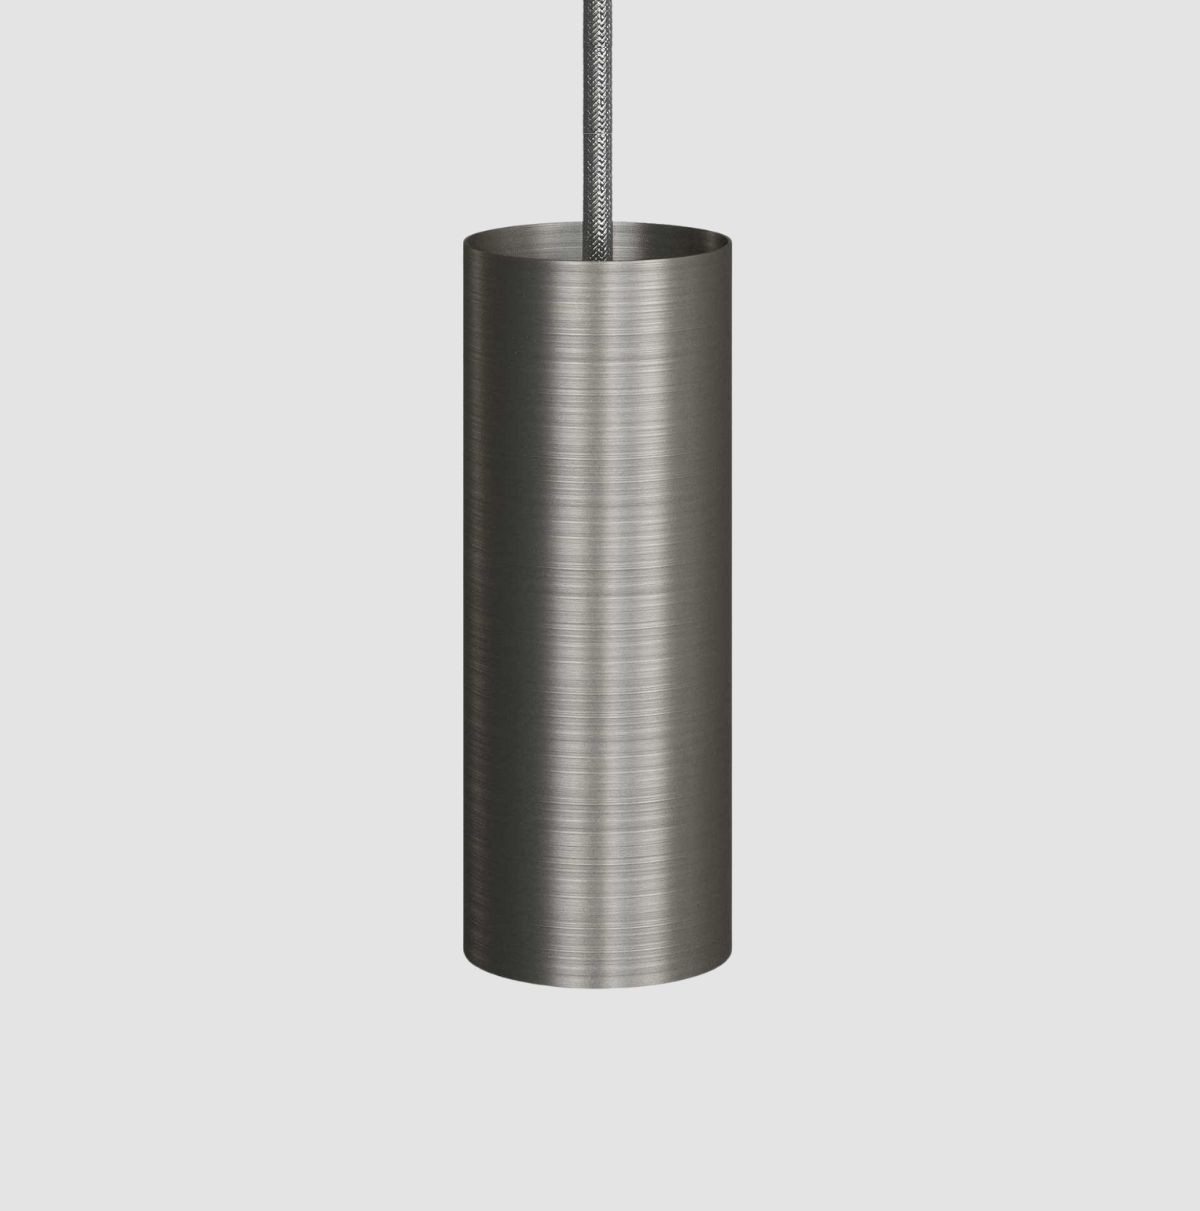
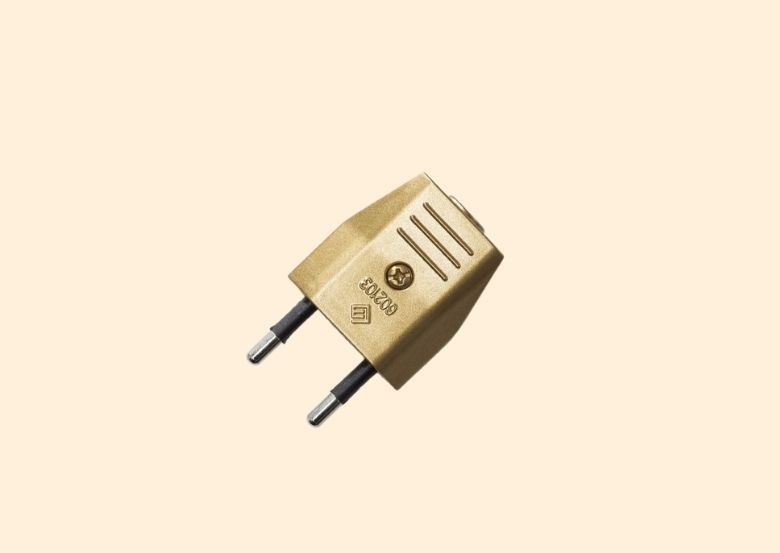
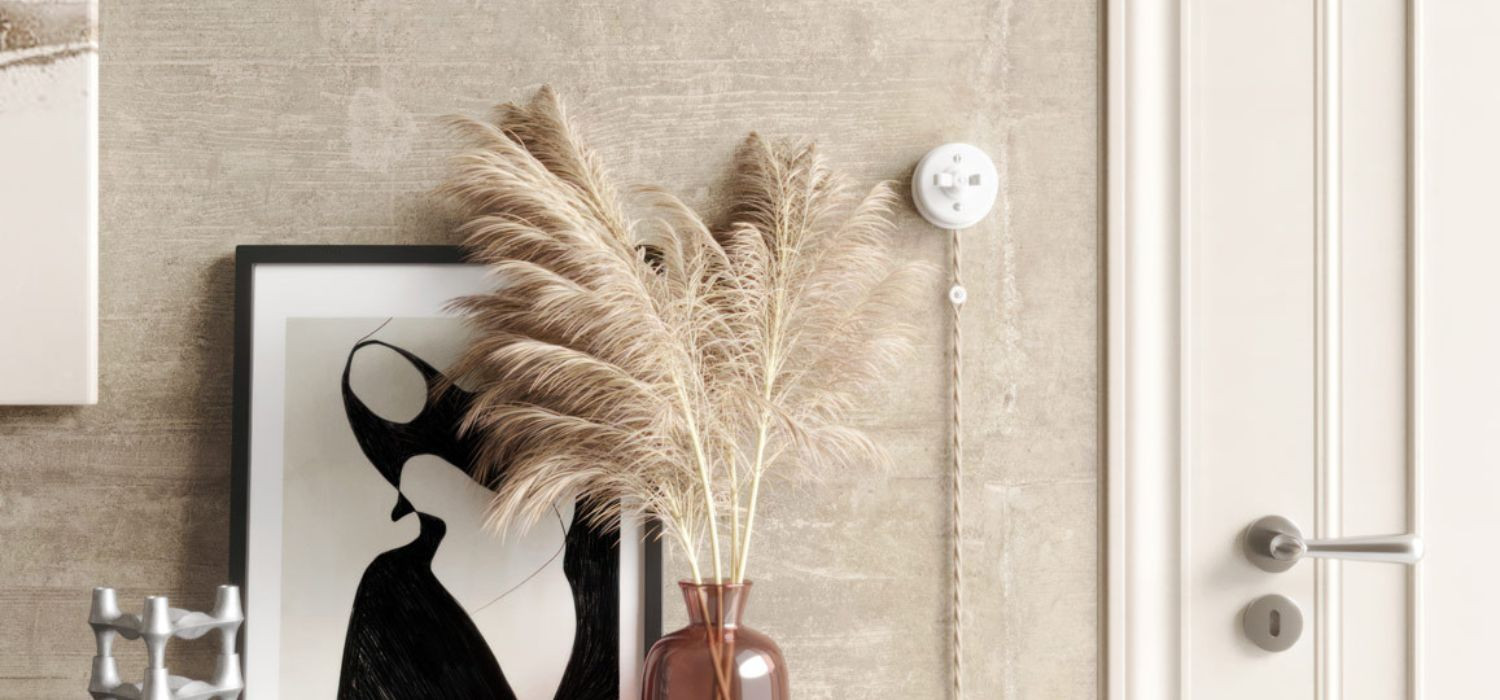
First of all, let's clarify that there are different types of plugs: in this case, we will deal with wiring a European 2-pole plug, used in many lamps and various applications, in almost all European countries. The peculiarity of this plug is that it does not require the connection of the ground, so it is possible to use it with our 2x0.75 electrical cables. Furthermore, it is not polarized, so it can be connected in both directions without problems, and then inserted into the wall socket.
The tools needed to connect the electric plug are very basic: a screwdriver, possibly with an insulated handle! Of course, we remind you that it is necessary to perform the entire operation in absence of electrical current, for the highest safety.
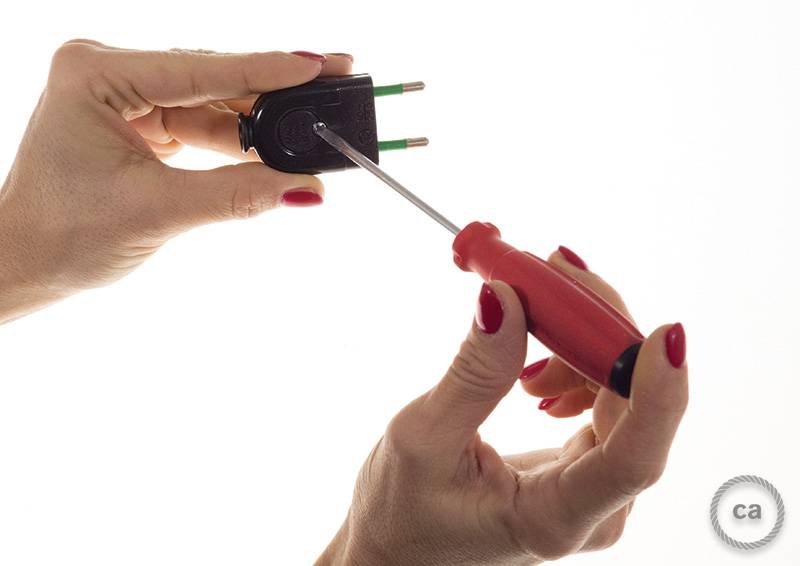
So let's start to dismantle the plug, unscrewing the screw on the outer body and, once opened, removing the internal cable clamp, held in place by two screws. The latter is used to protect the plug in case of "tugs", preserving its functionality.
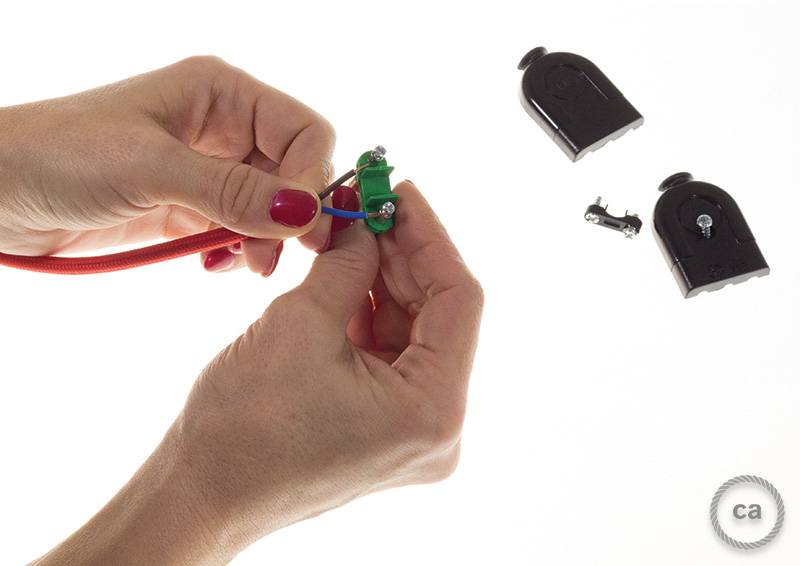
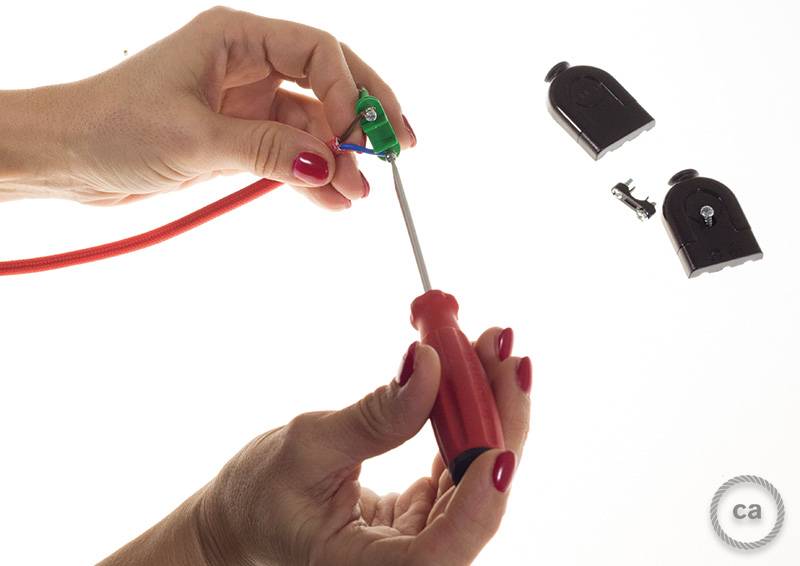
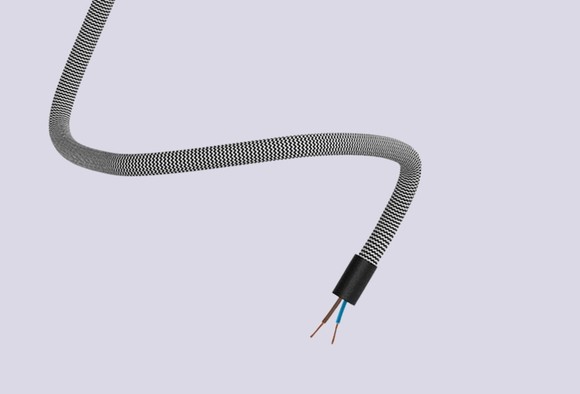
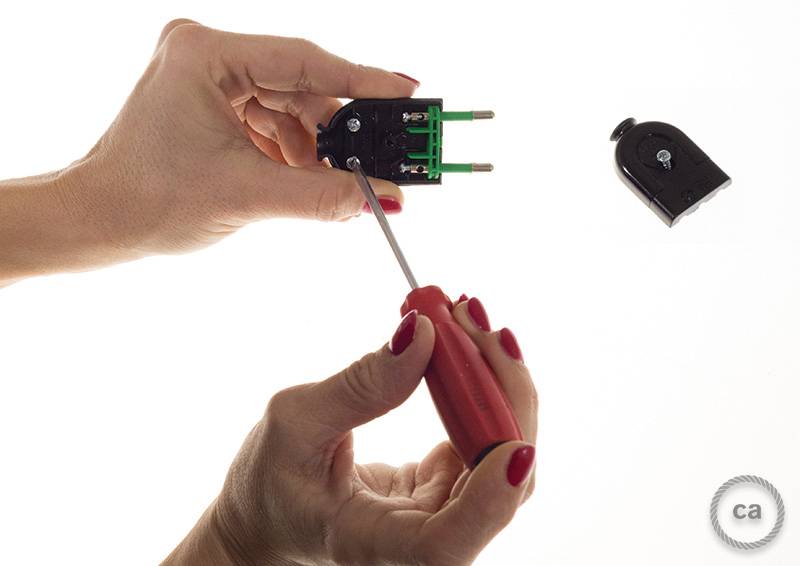
We remove the housing of the electrical wires (in green, in the photos) from its seat inside the plug, and loosen the terminal screws. Once this is done, it is time to insert the previously stripped electrical wires: if you don't know how to do it, you can read our tutorial on how to strip textile cables!
Once the electrical wires are inserted into the appropriate terminal blocks, we tighten the screws and reposition the housing in the body of the plug.
Once the electrical wires are inserted into the appropriate terminal blocks, we tighten the screws and reposition the housing in the body of the plug.


We are almost finished connecting our plug, all that remains is to reassemble it! We close the internal cable clamp by screwing the screws that attach it to the body of the plug. Be careful that the clamp presses on a section of the wire that has not been stripped yet, for greater stability! Finally, we reposition the body of the plug and tighten the external screw. There you go: we have connected our electric plug!
All clear? Did you manage to do it or did you have any problems? Write to us in the comments, and, as always, let us know what tutorials you would like to see in the future!
All clear? Did you manage to do it or did you have any problems? Write to us in the comments, and, as always, let us know what tutorials you would like to see in the future!


0 Comments