Menu


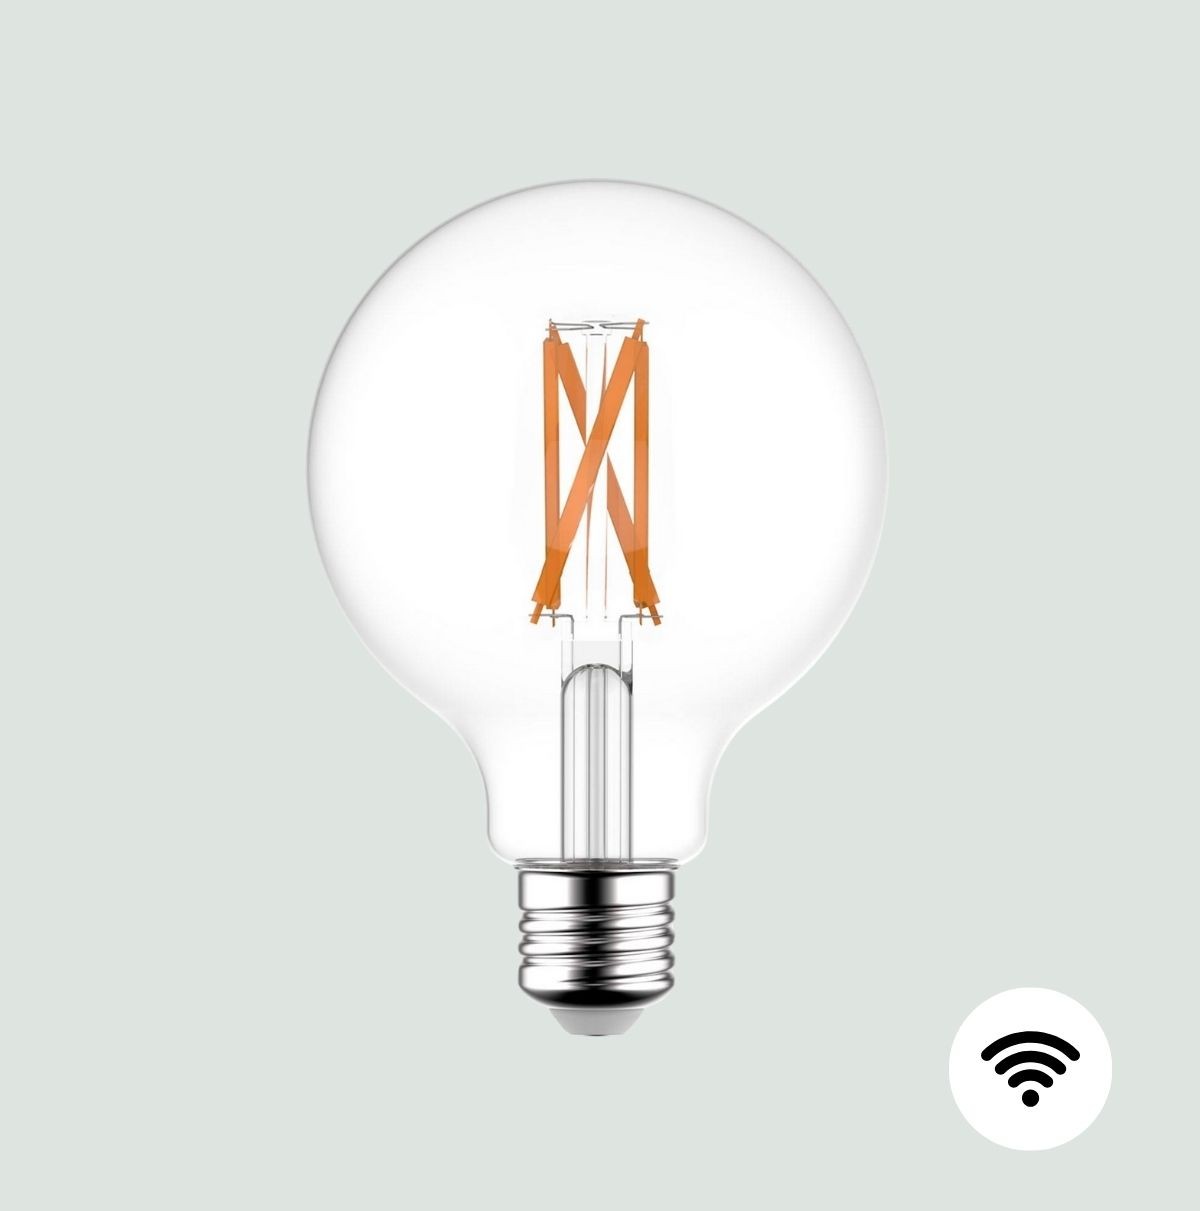
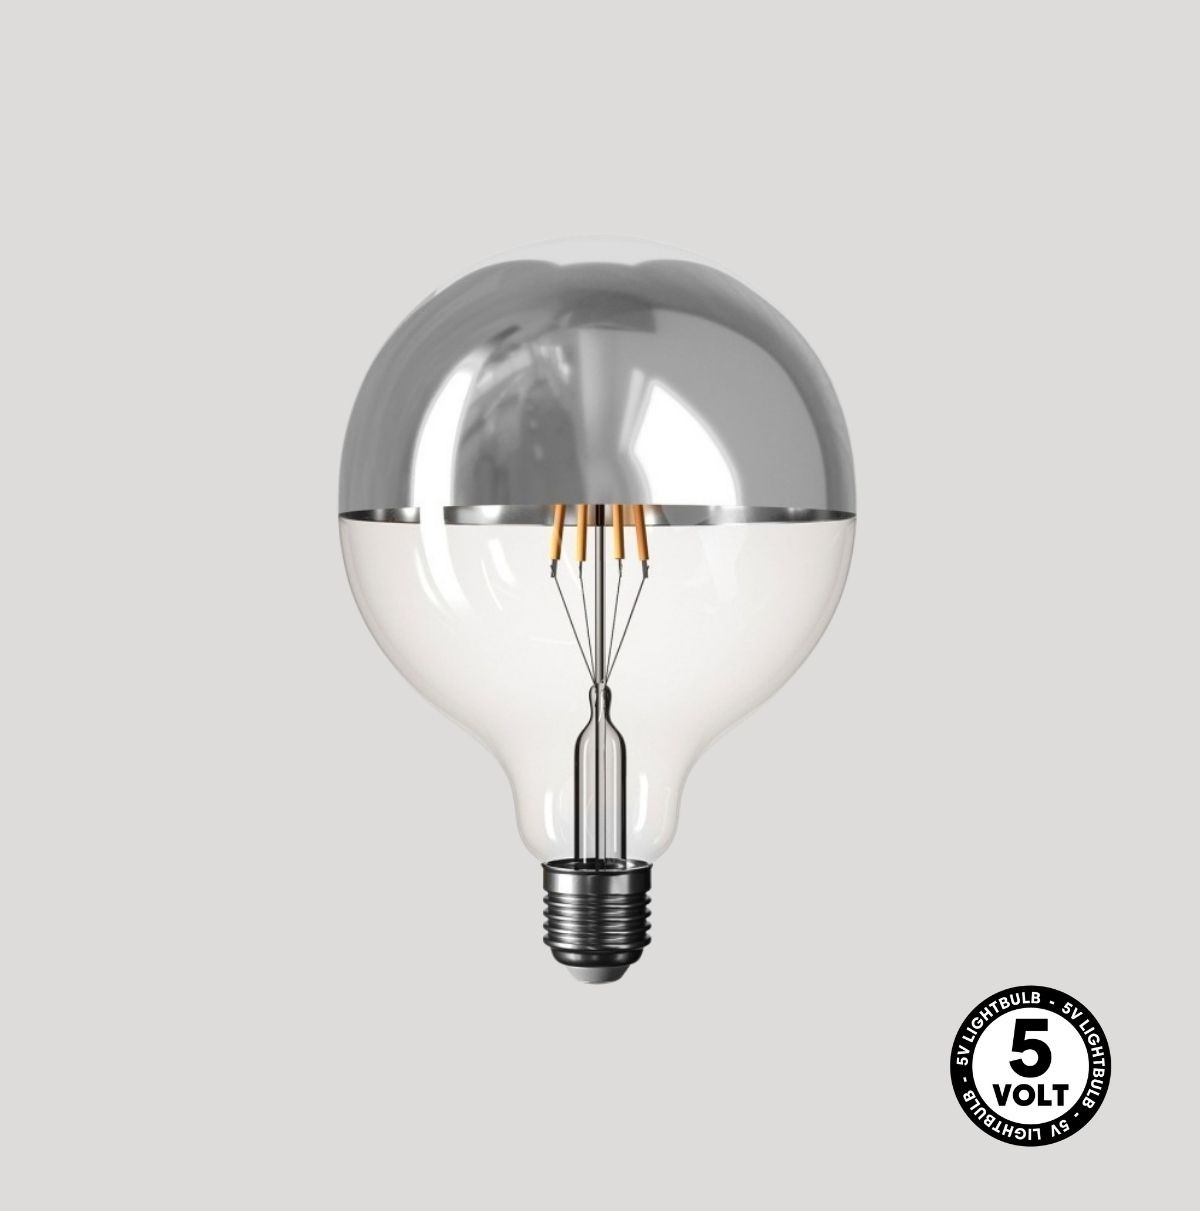
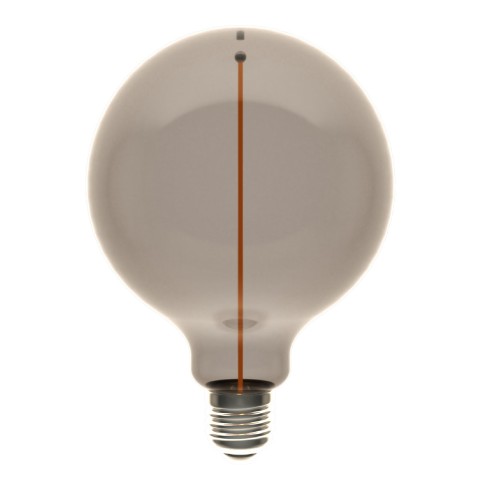
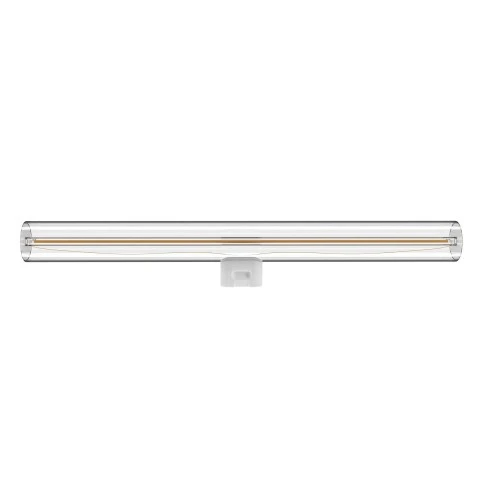
Bulbs
-
-
-
-
-
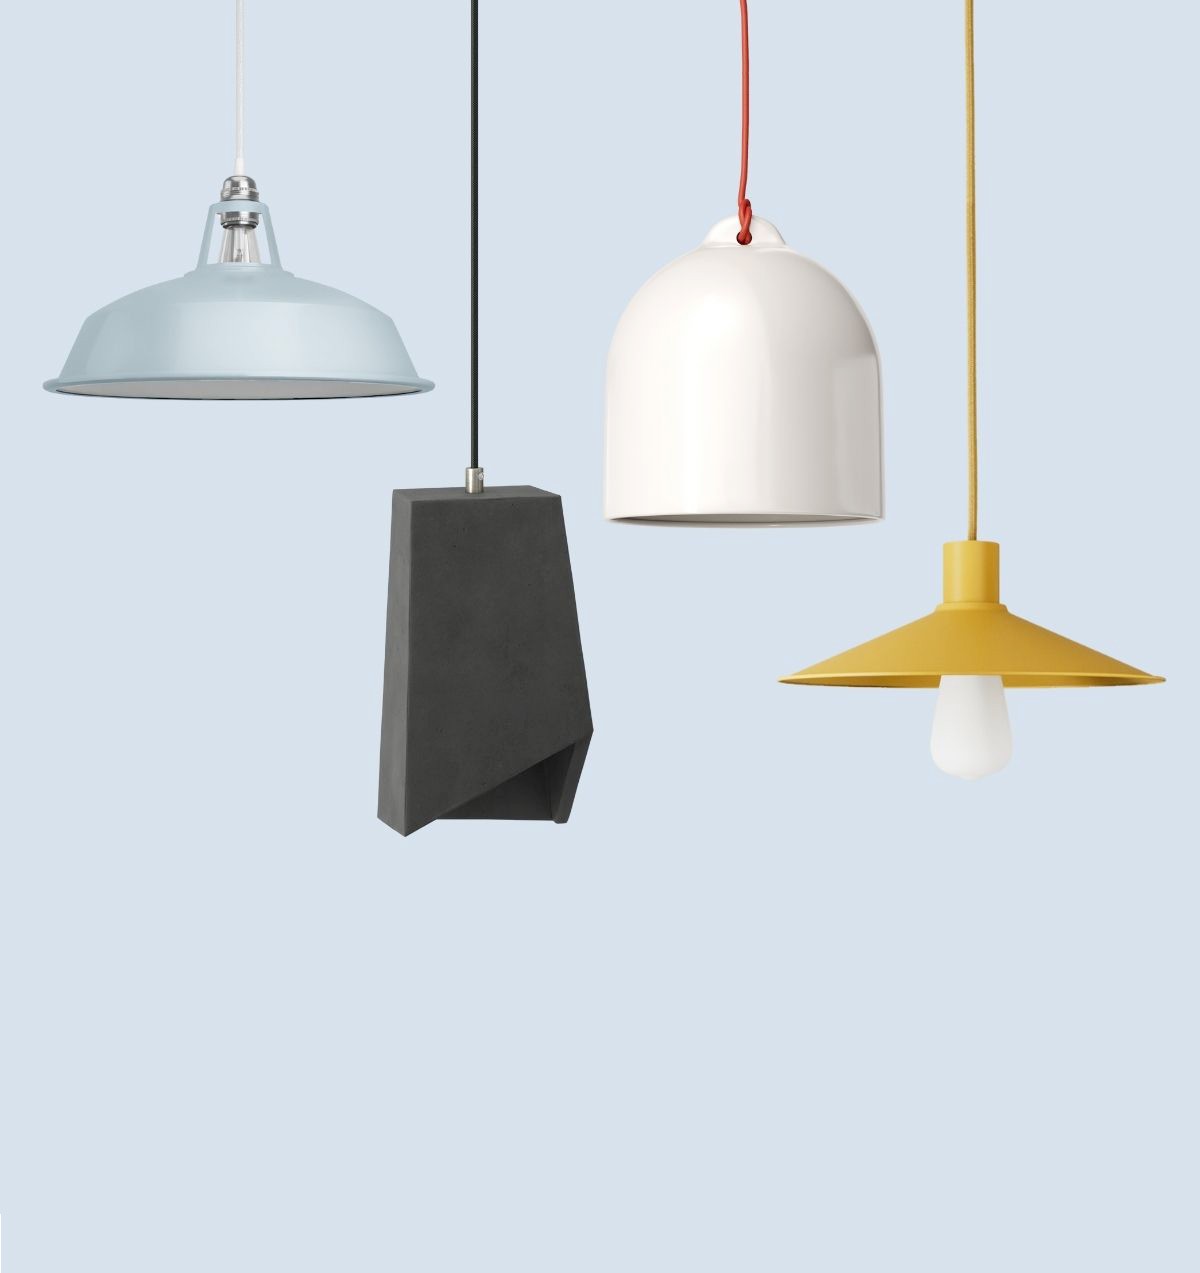
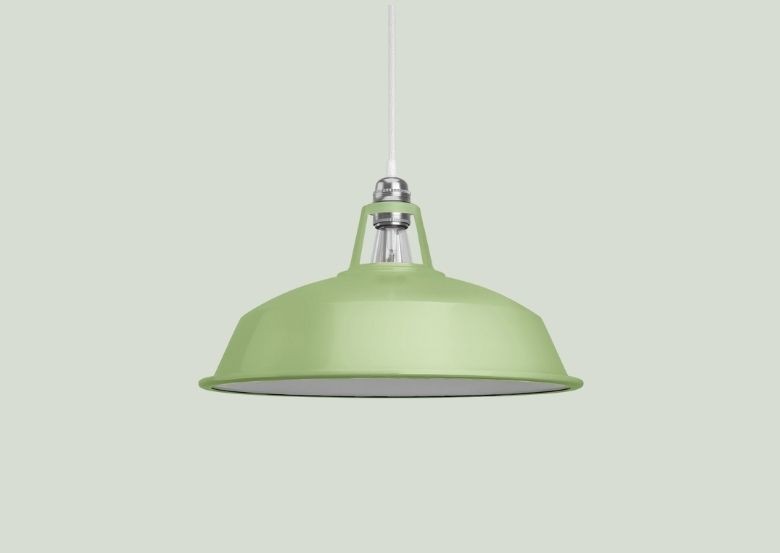
Featured products
-
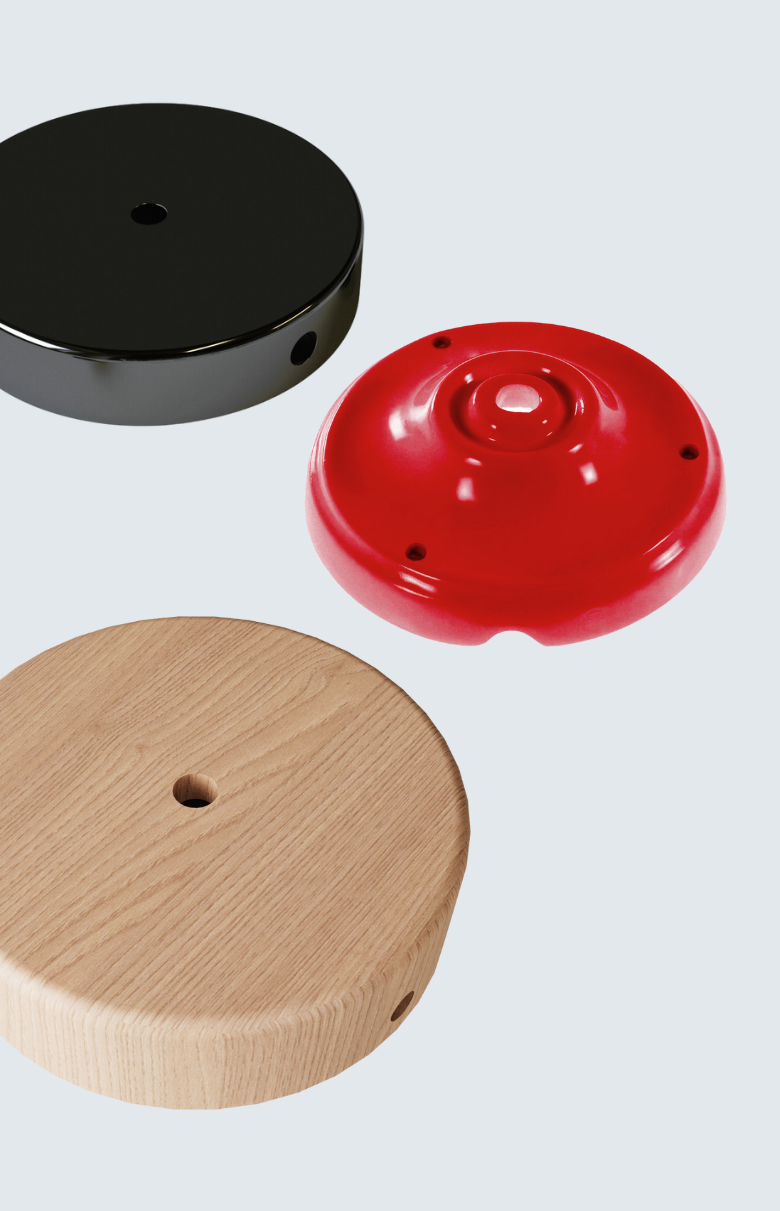
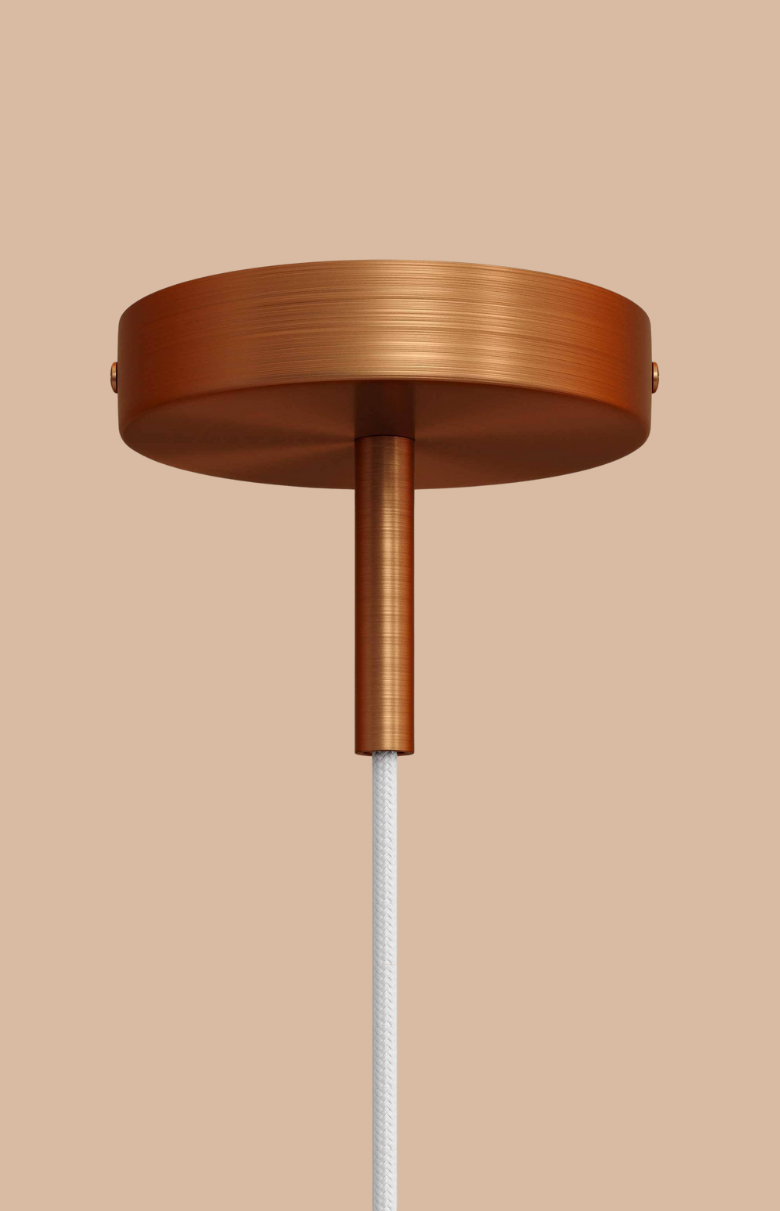
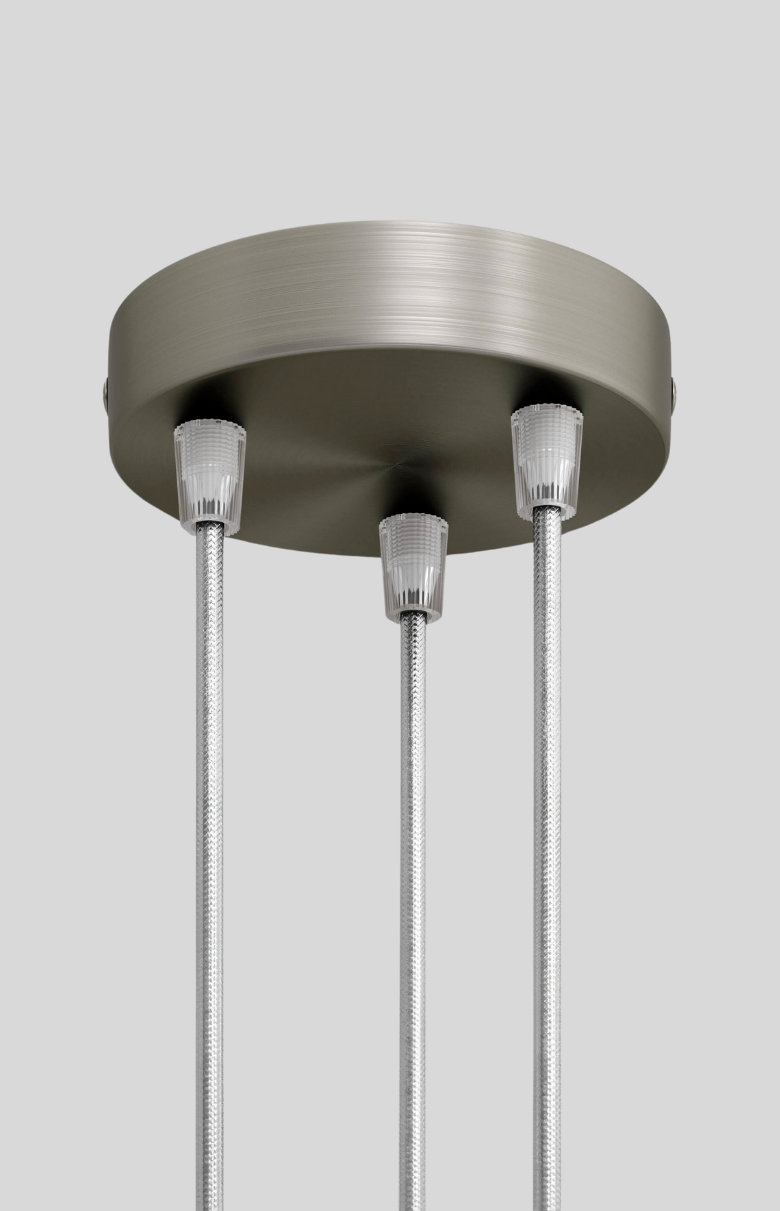
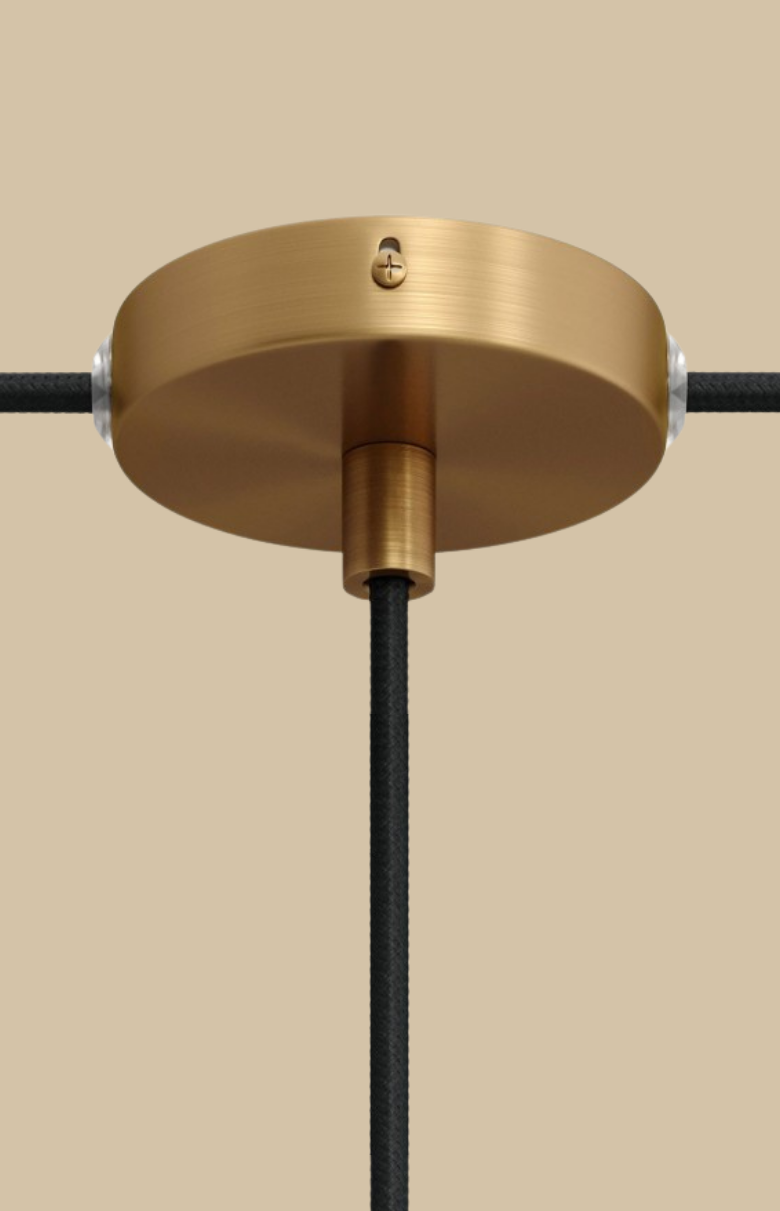
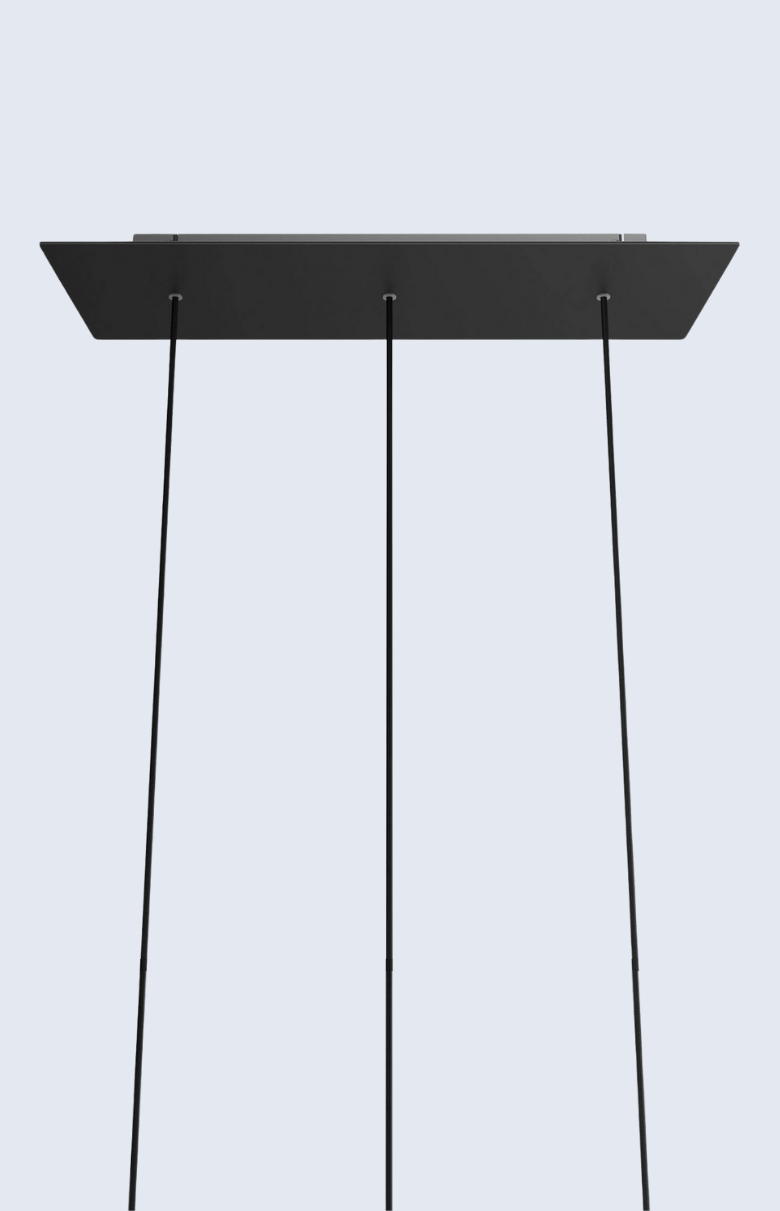
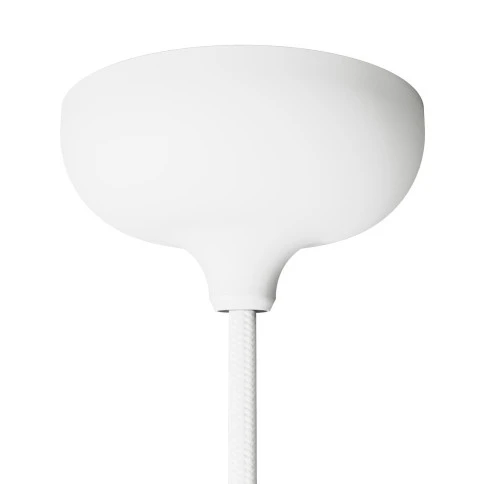
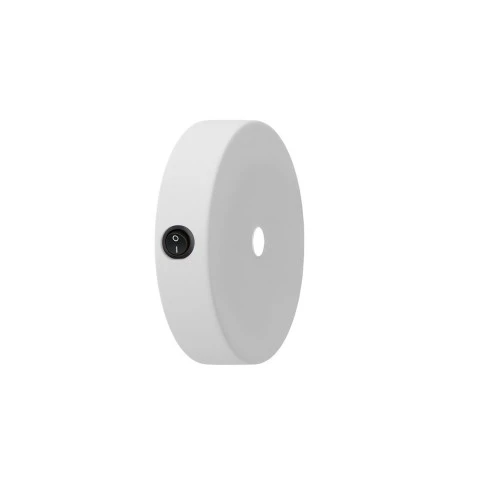
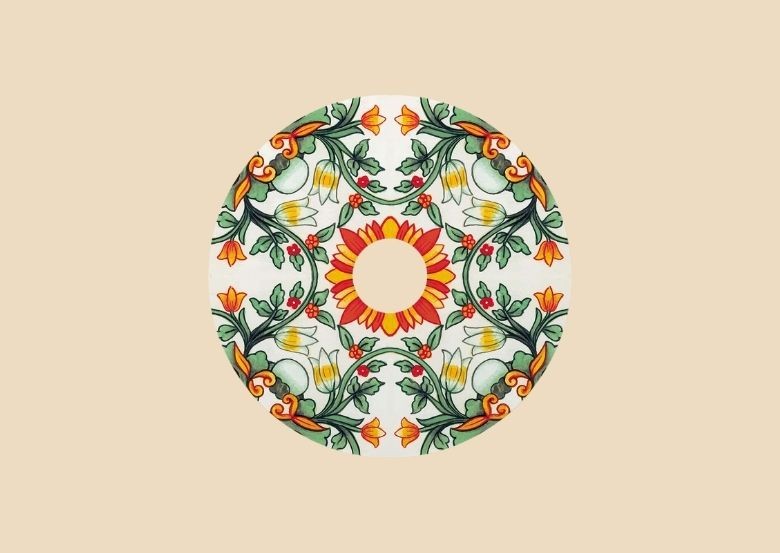
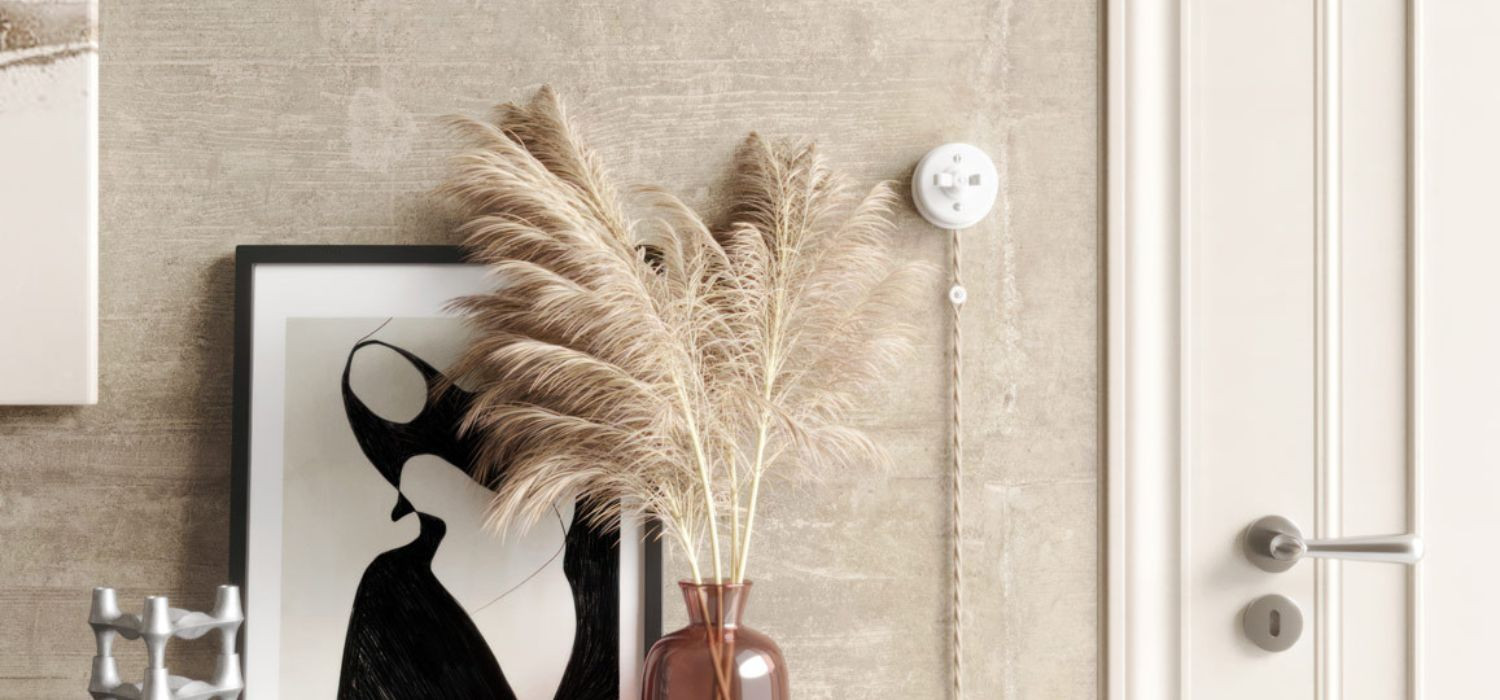
Ceiling roses
-
-
-
-
-
-
-
Featured products
-
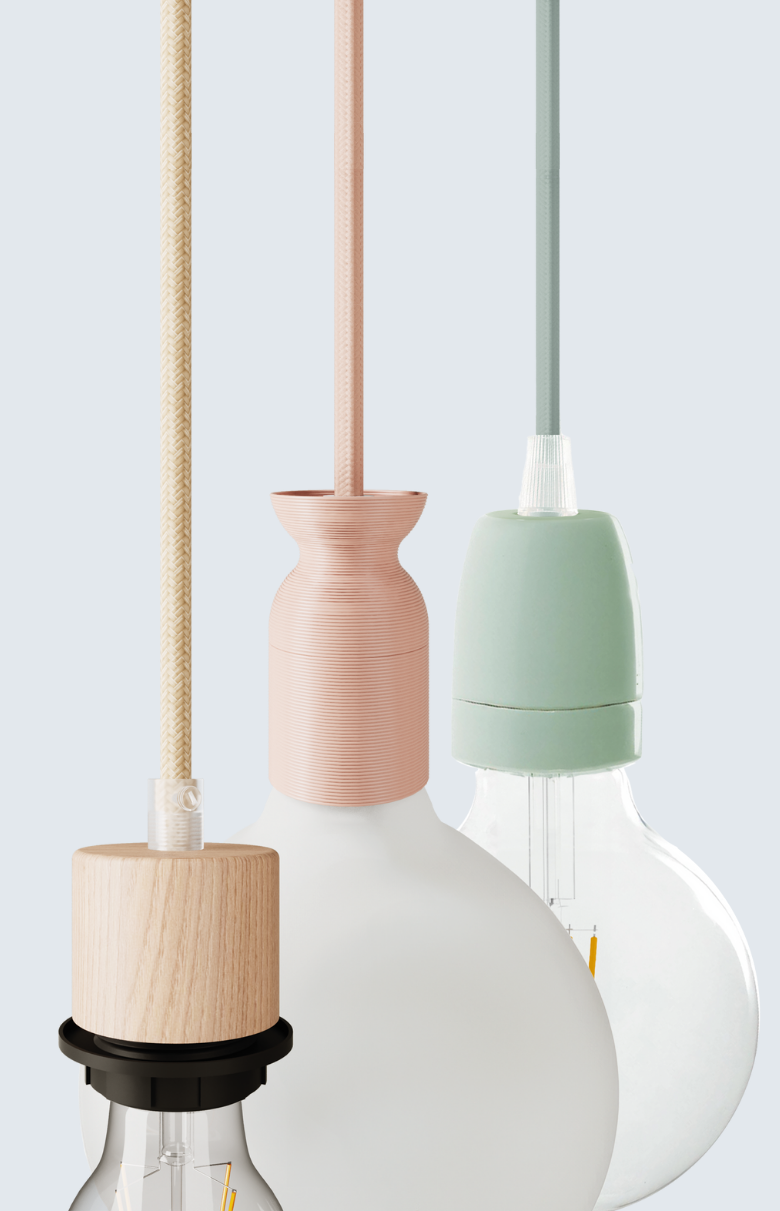
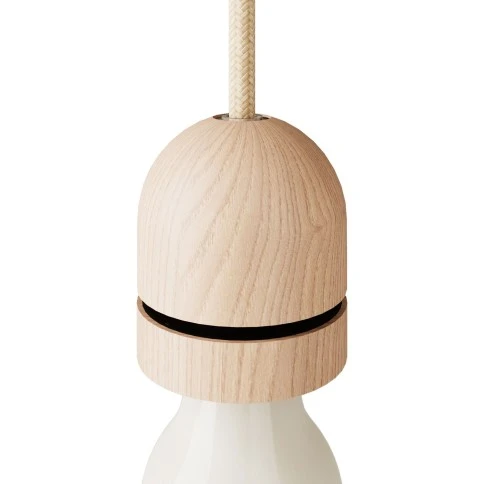
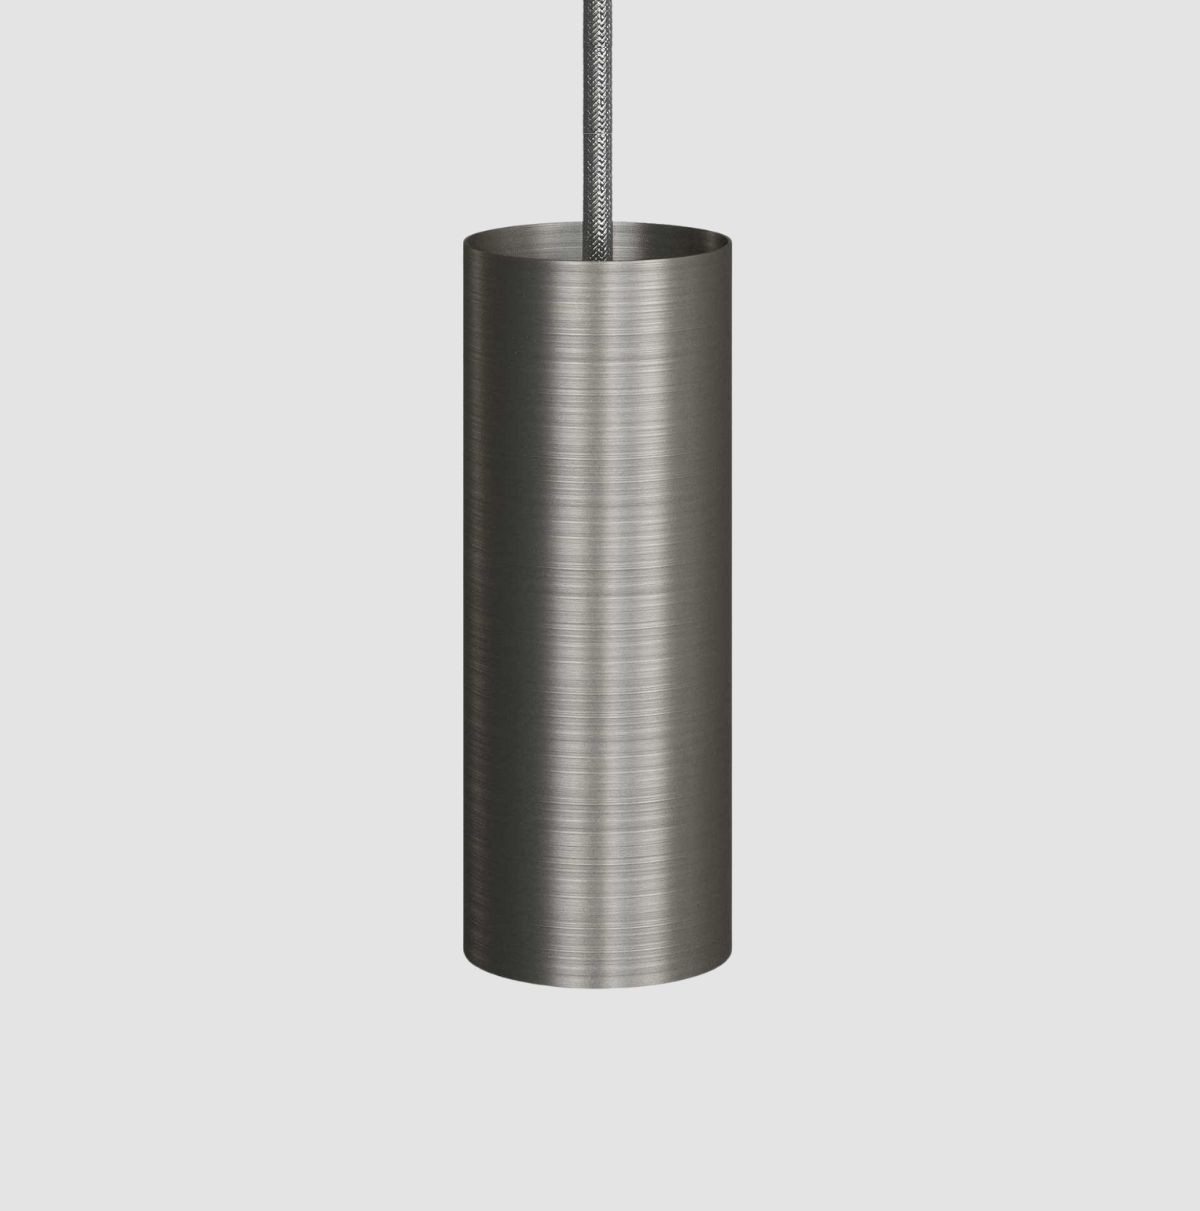
Lamp holders
-
-
-
-
-
-
Featured products
-
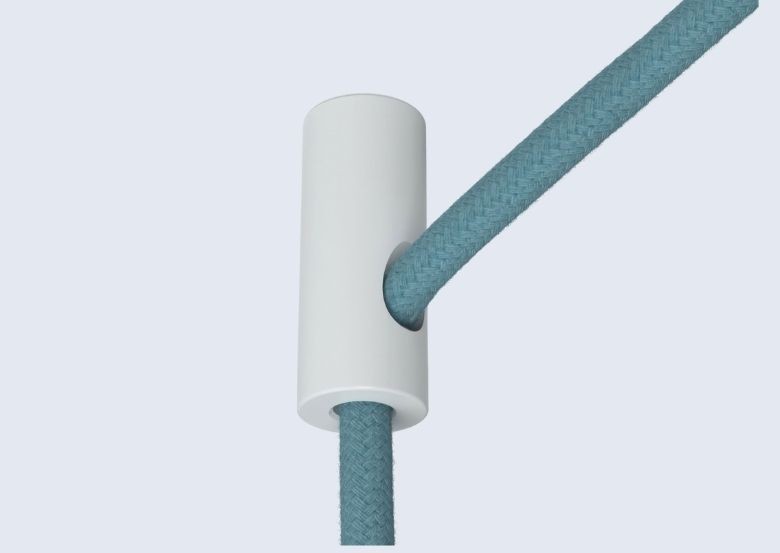
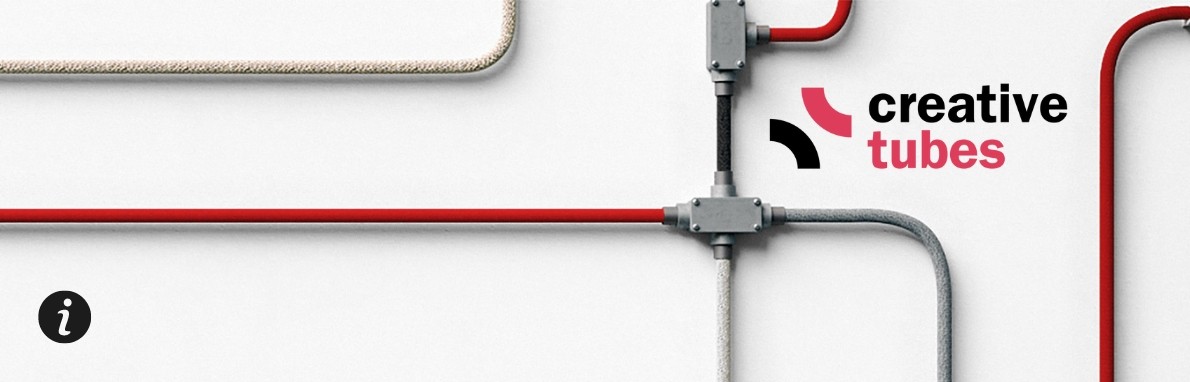
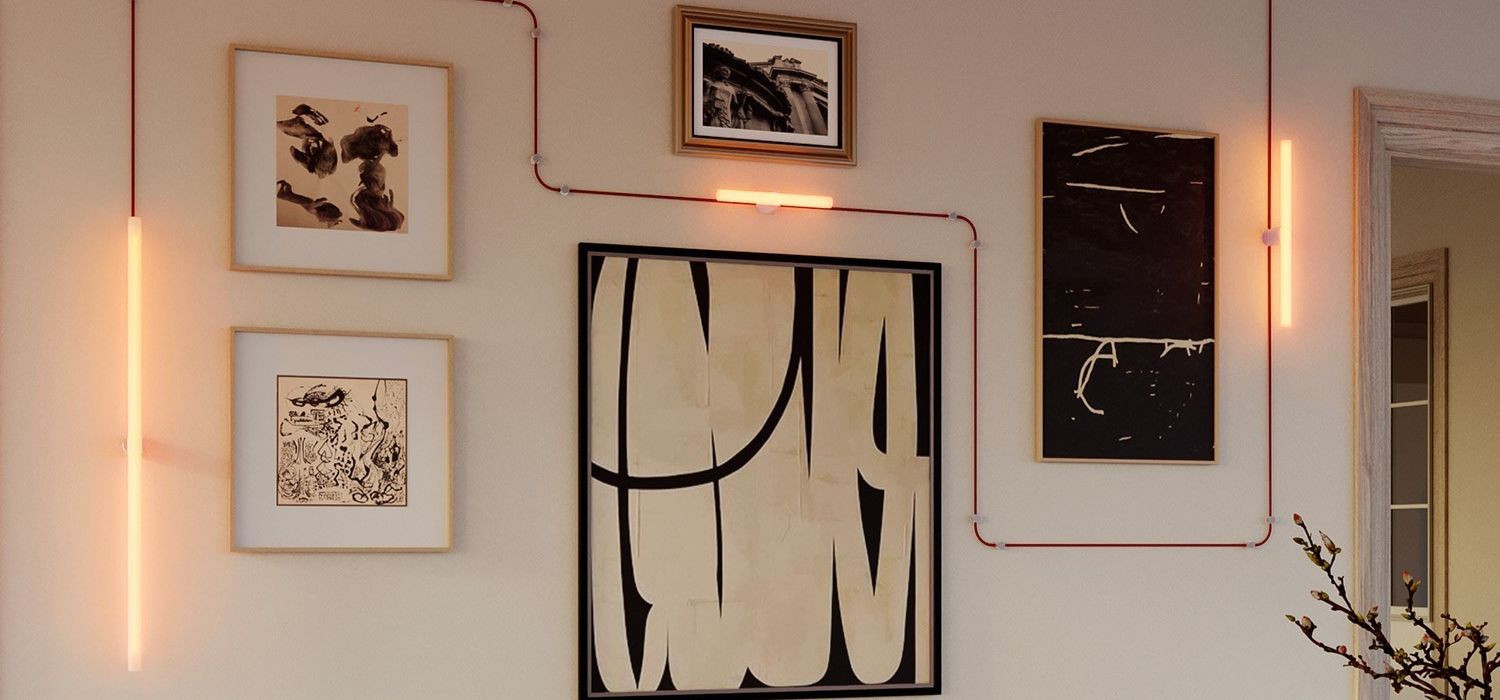
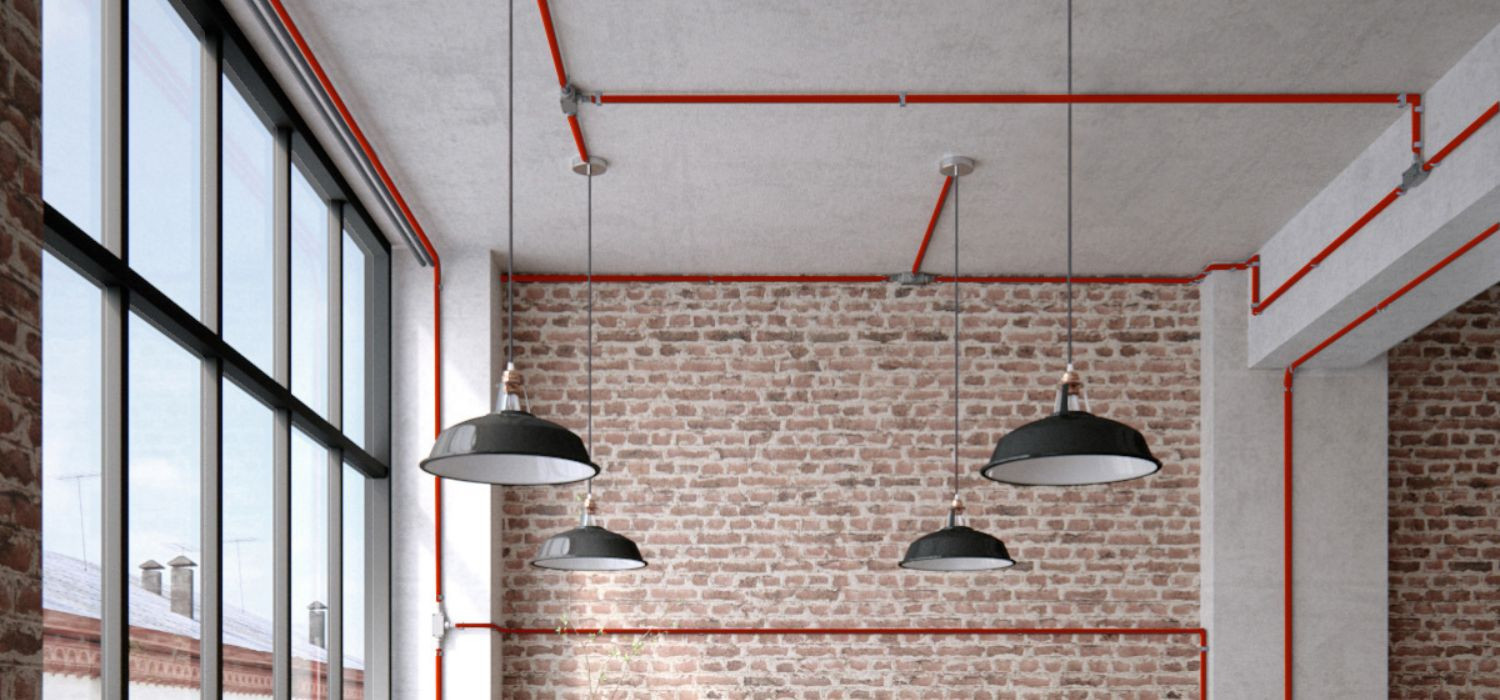
Surface mounted wiring
-
-
-
-
Buy Spostaluce
-
-
-
Buy the Porcelain installation
-


Blog Search
Blog Category
Blog Archive
Recent post
-
The Cable Light: Mont Blanc fills up with light with designer Matteo Ragni and Creative Cables 31 Jan, 2024

-
A bank with a colorful spirit 22 Sep, 2020

-
Welcome GU1d0! 04 Nov, 2021

Popular Articles


0 Comments