


Tutorial #2 - How to connect the lamp holder?
- 13 Feb, 2015
- Assembly Instructions
- 0 Comments

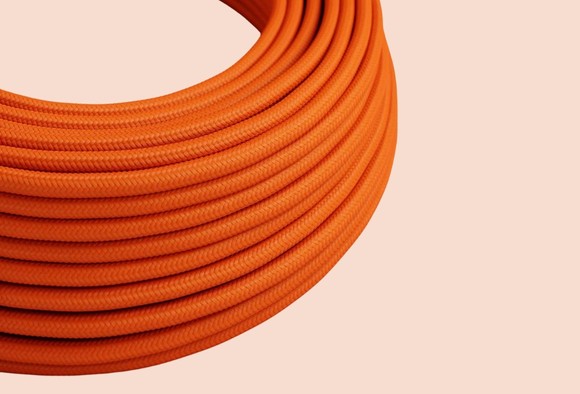
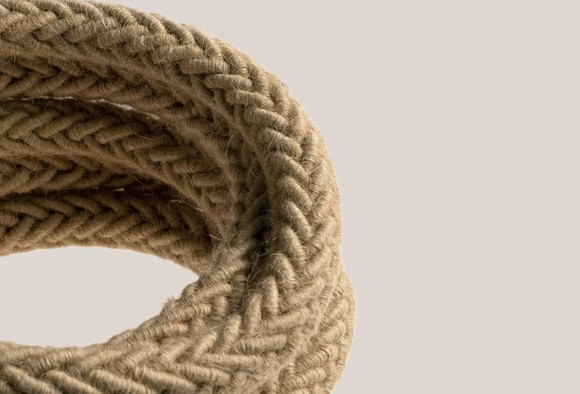
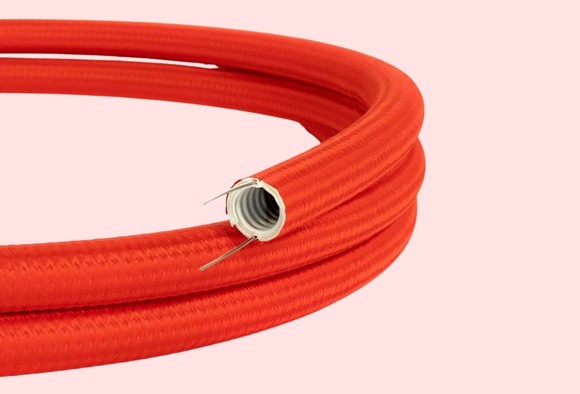
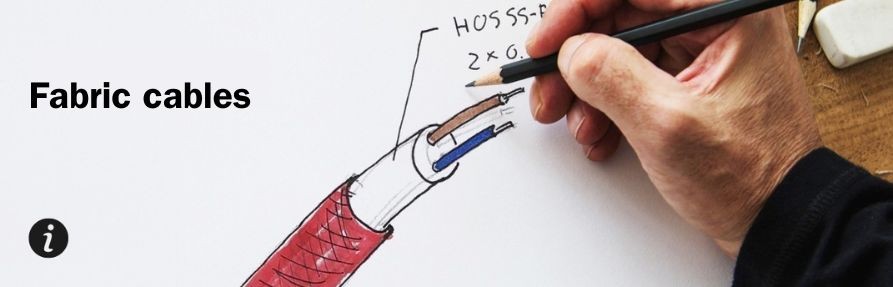
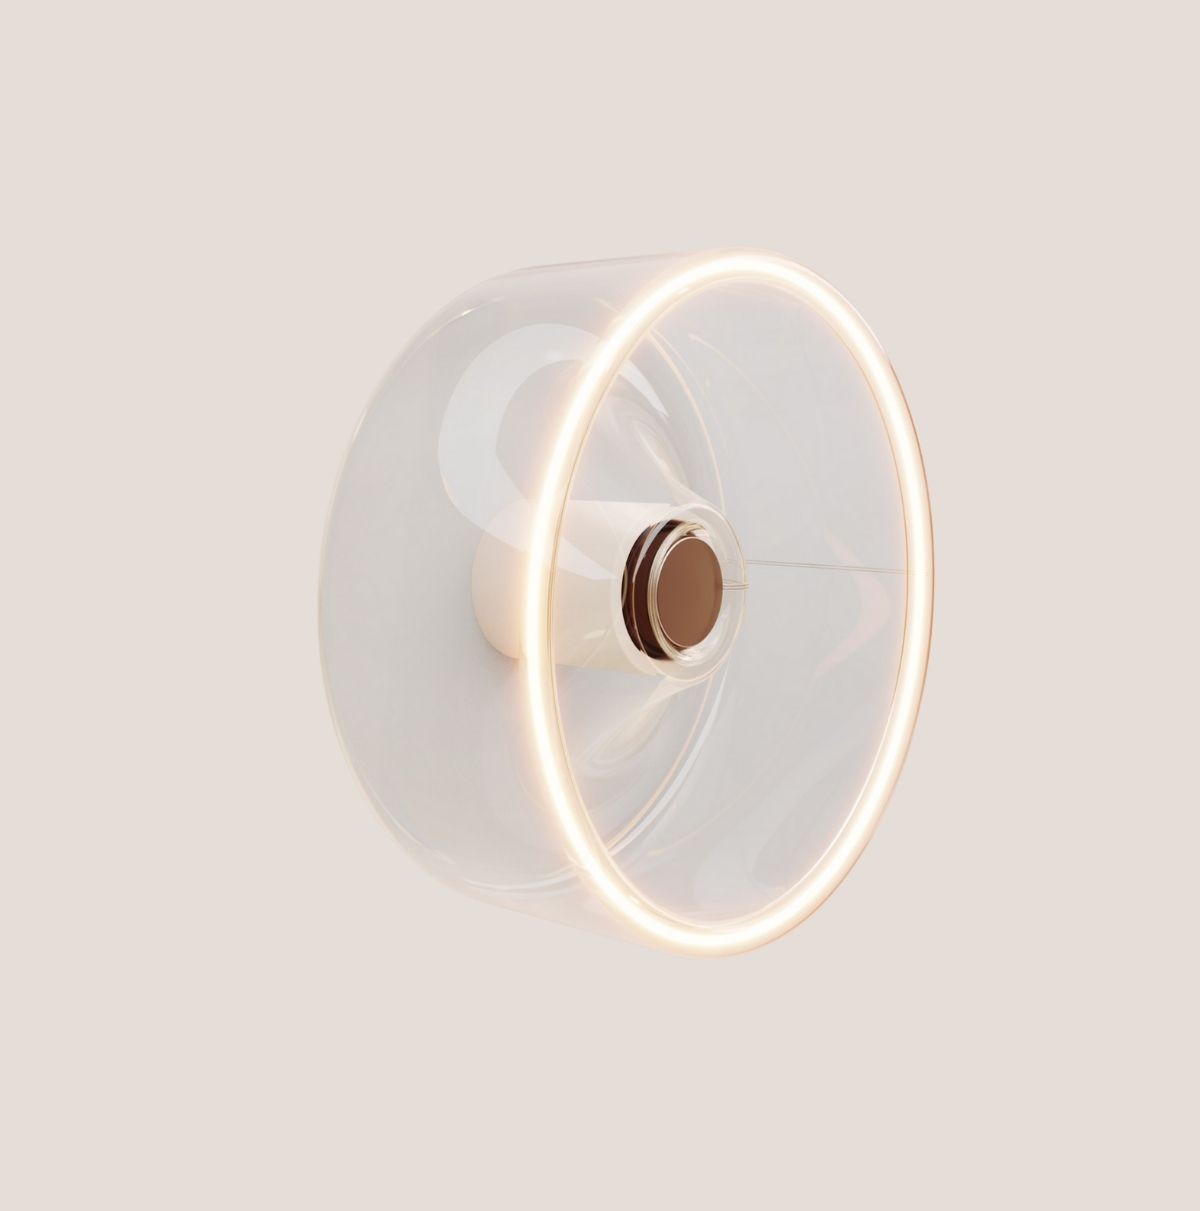
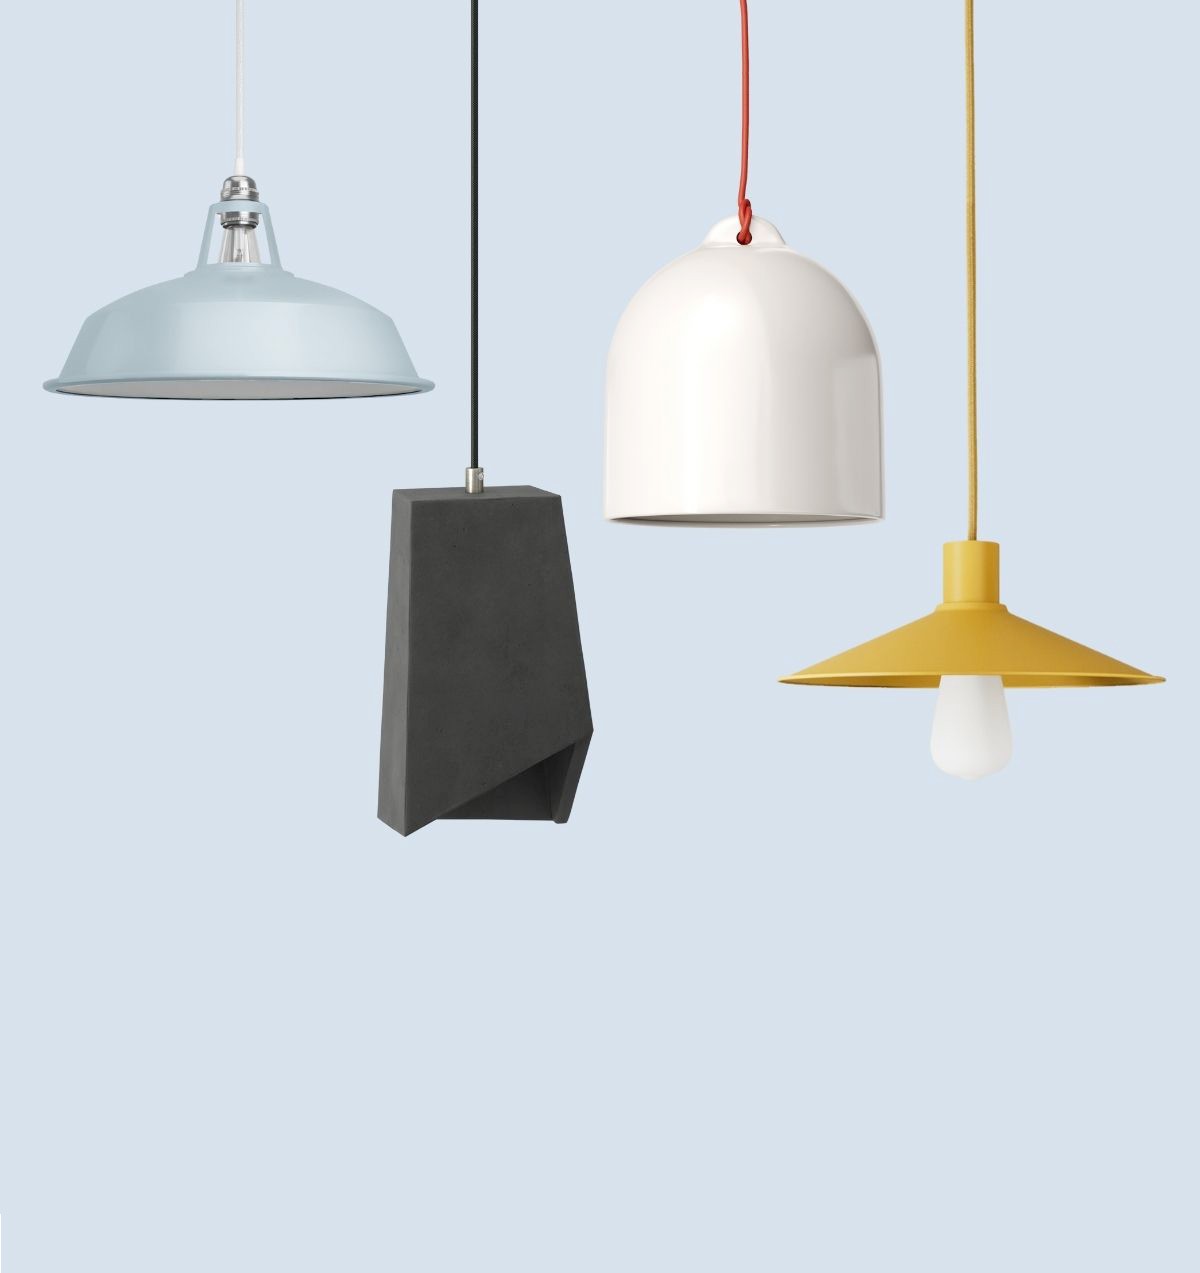
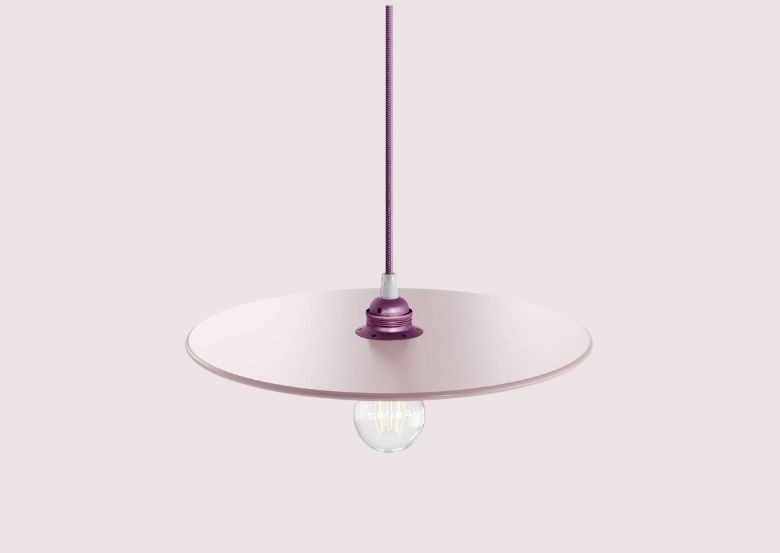
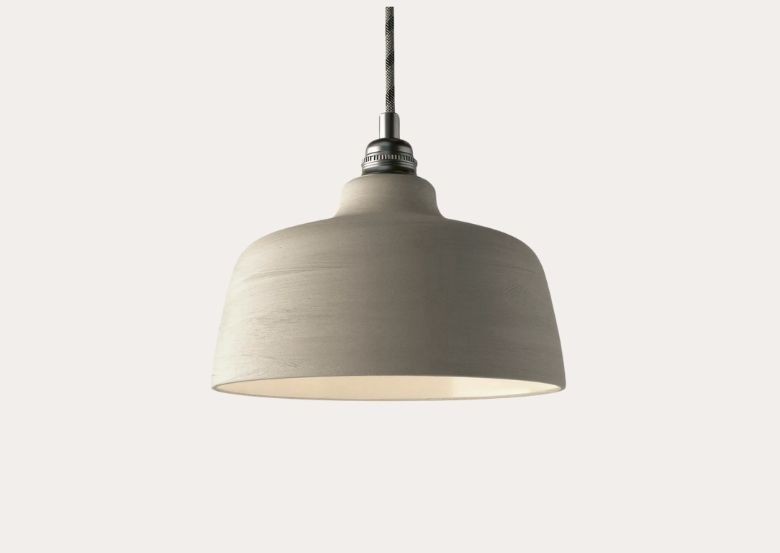
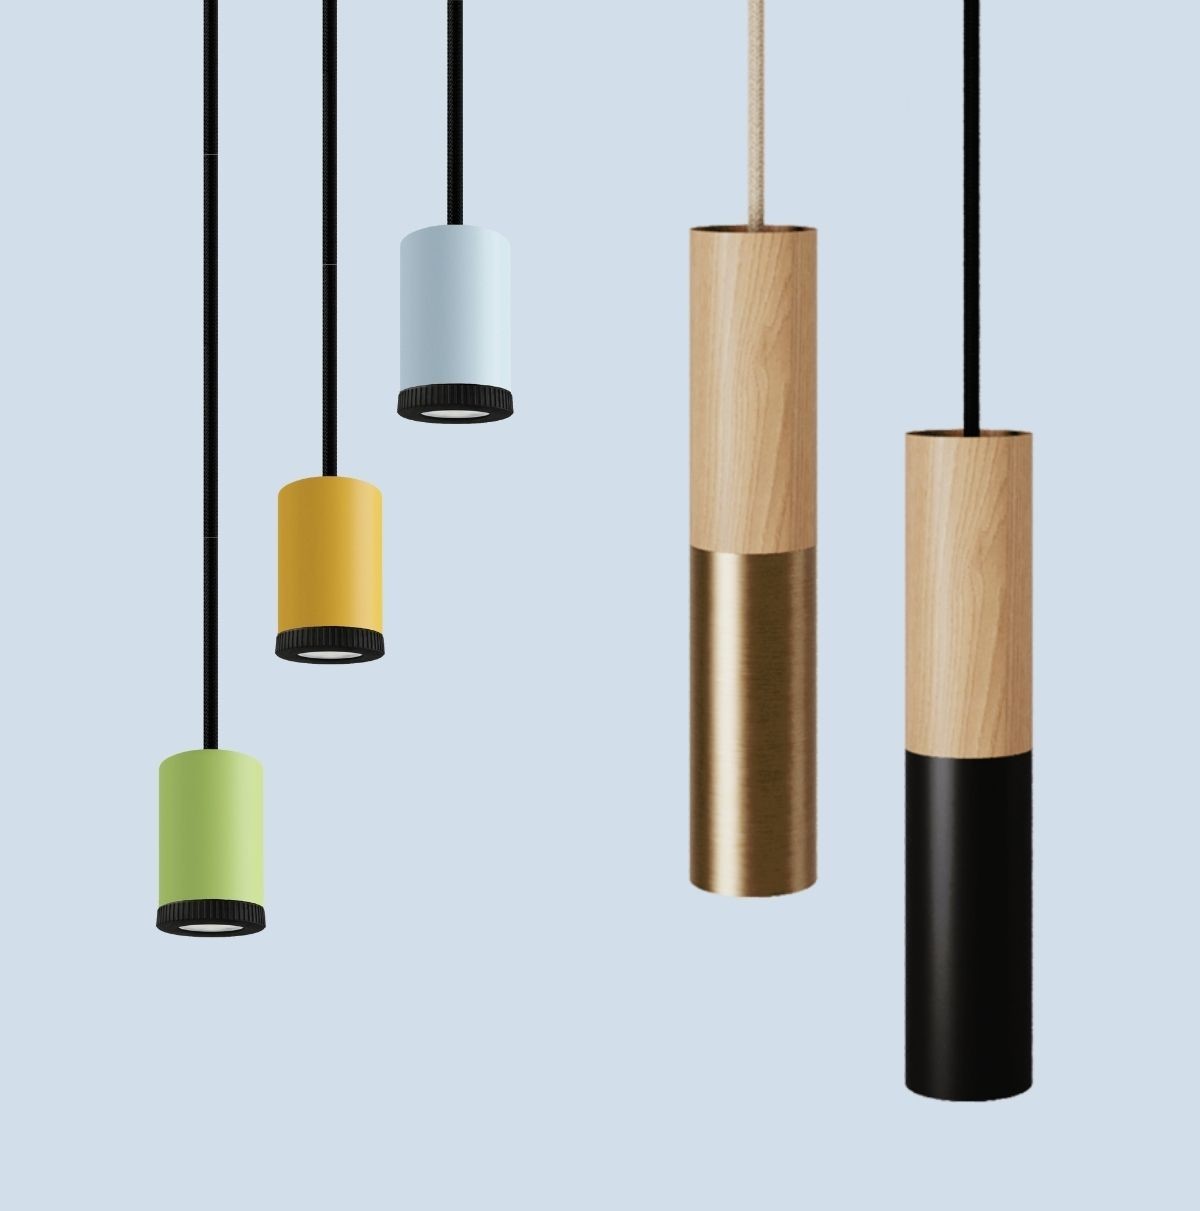
In the last month we have introduced many new products and new ideas in our catalog to allow you to develop your interior design projects even more and better! New textile cables, in many different finishes and patterns, new LED bulbs, and many new lampshades, with various designs and shapes: there is really something for everyone!
We have not forgotten about our tutorials, and today we propose a new one, related to the object that connects all the elements of your lamp: cable, lampshade, and light bulb, in fact, they all must be connected to the lamp holder
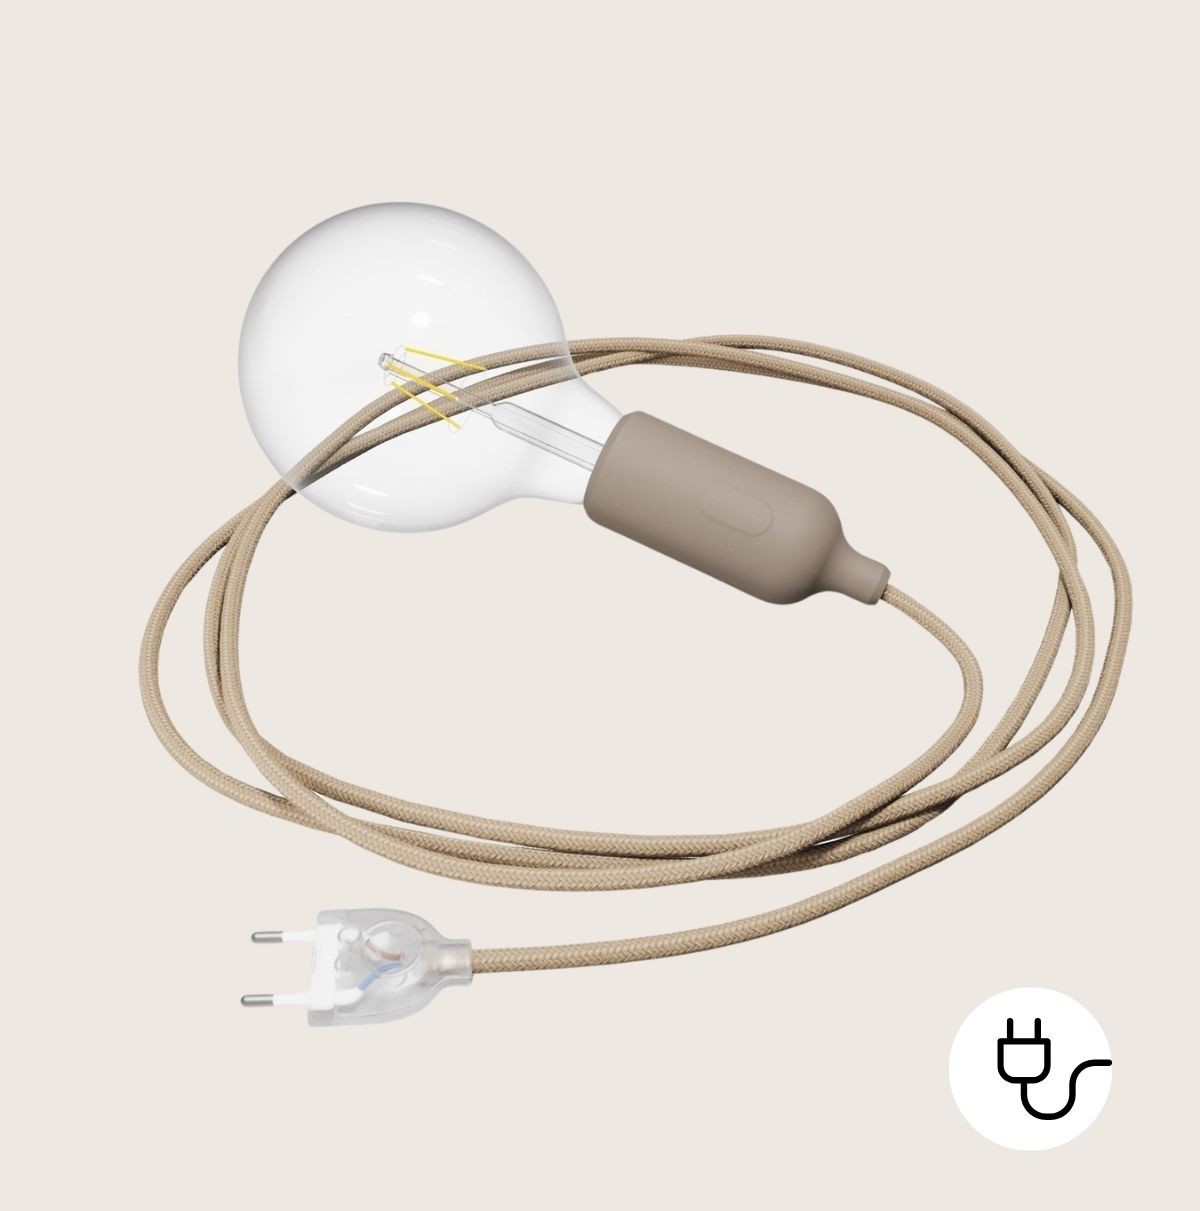
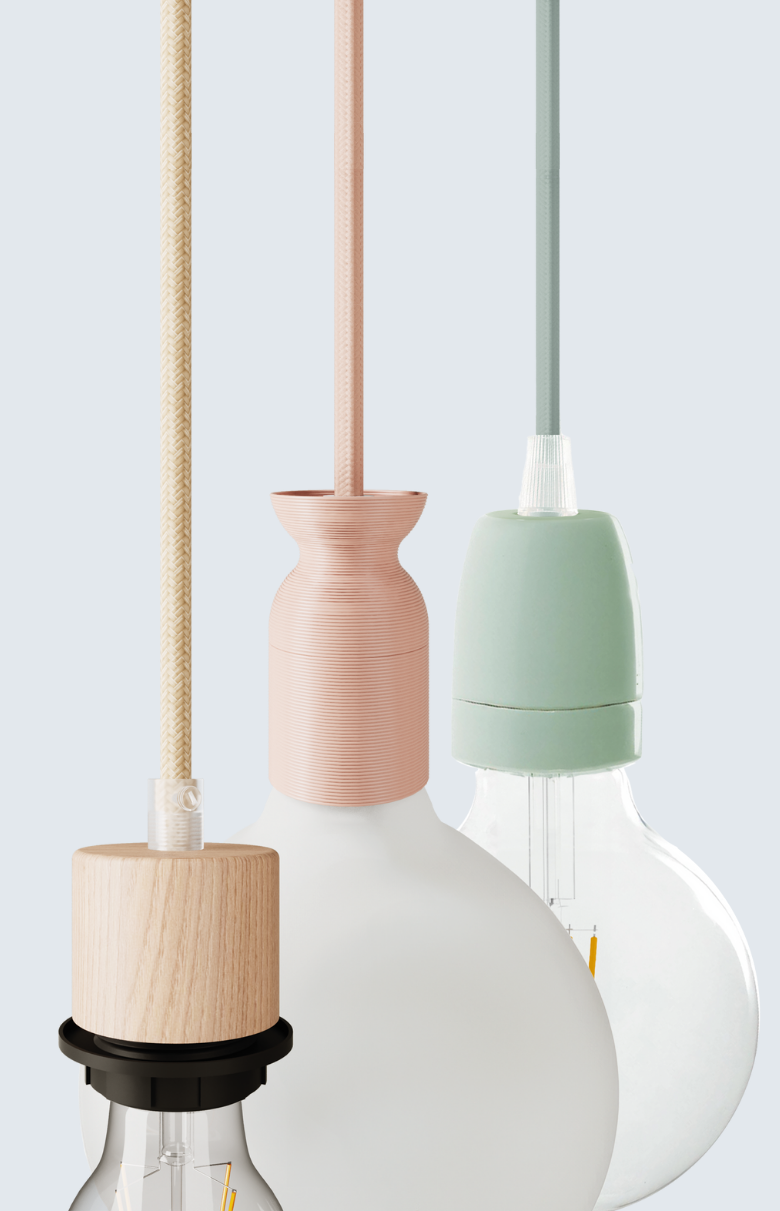
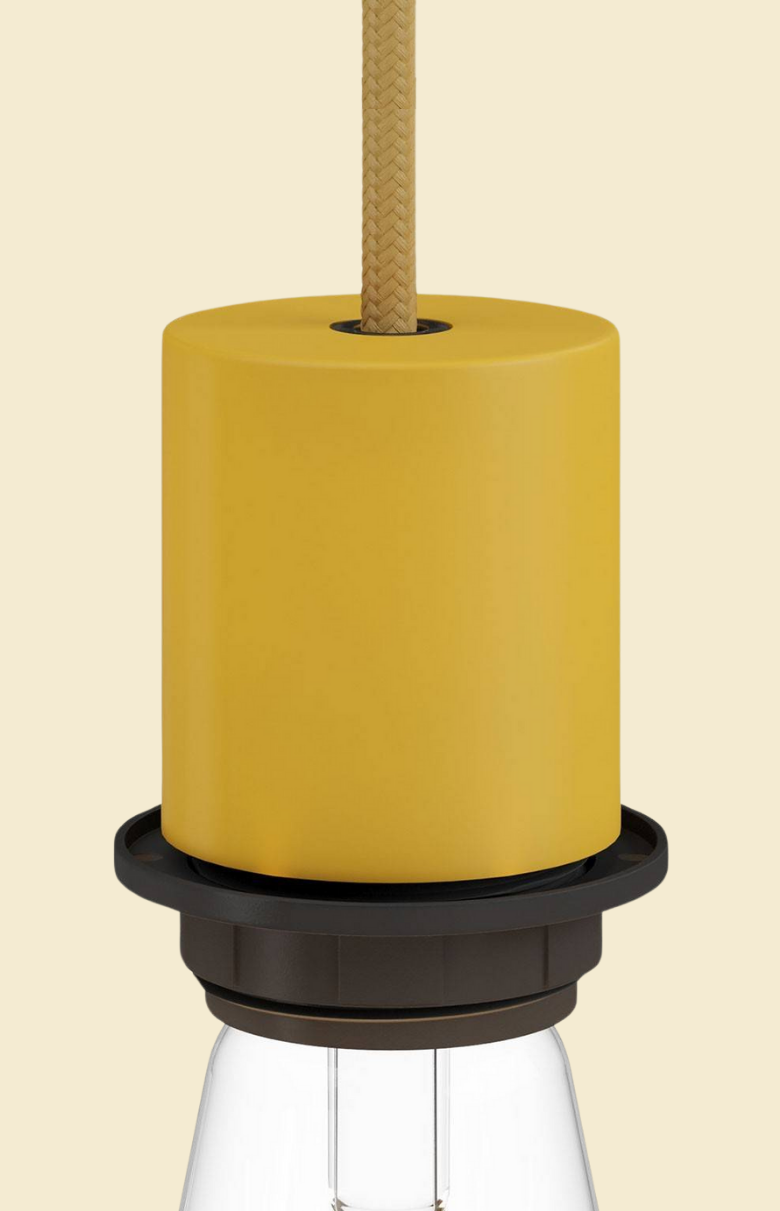
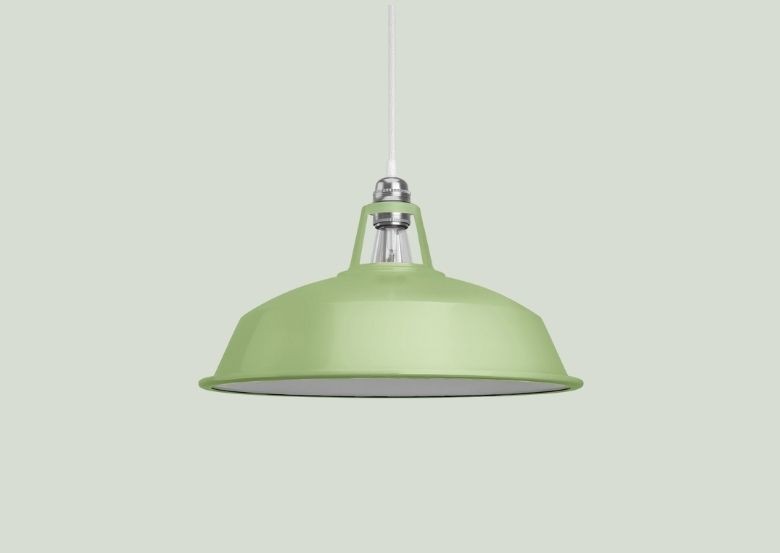
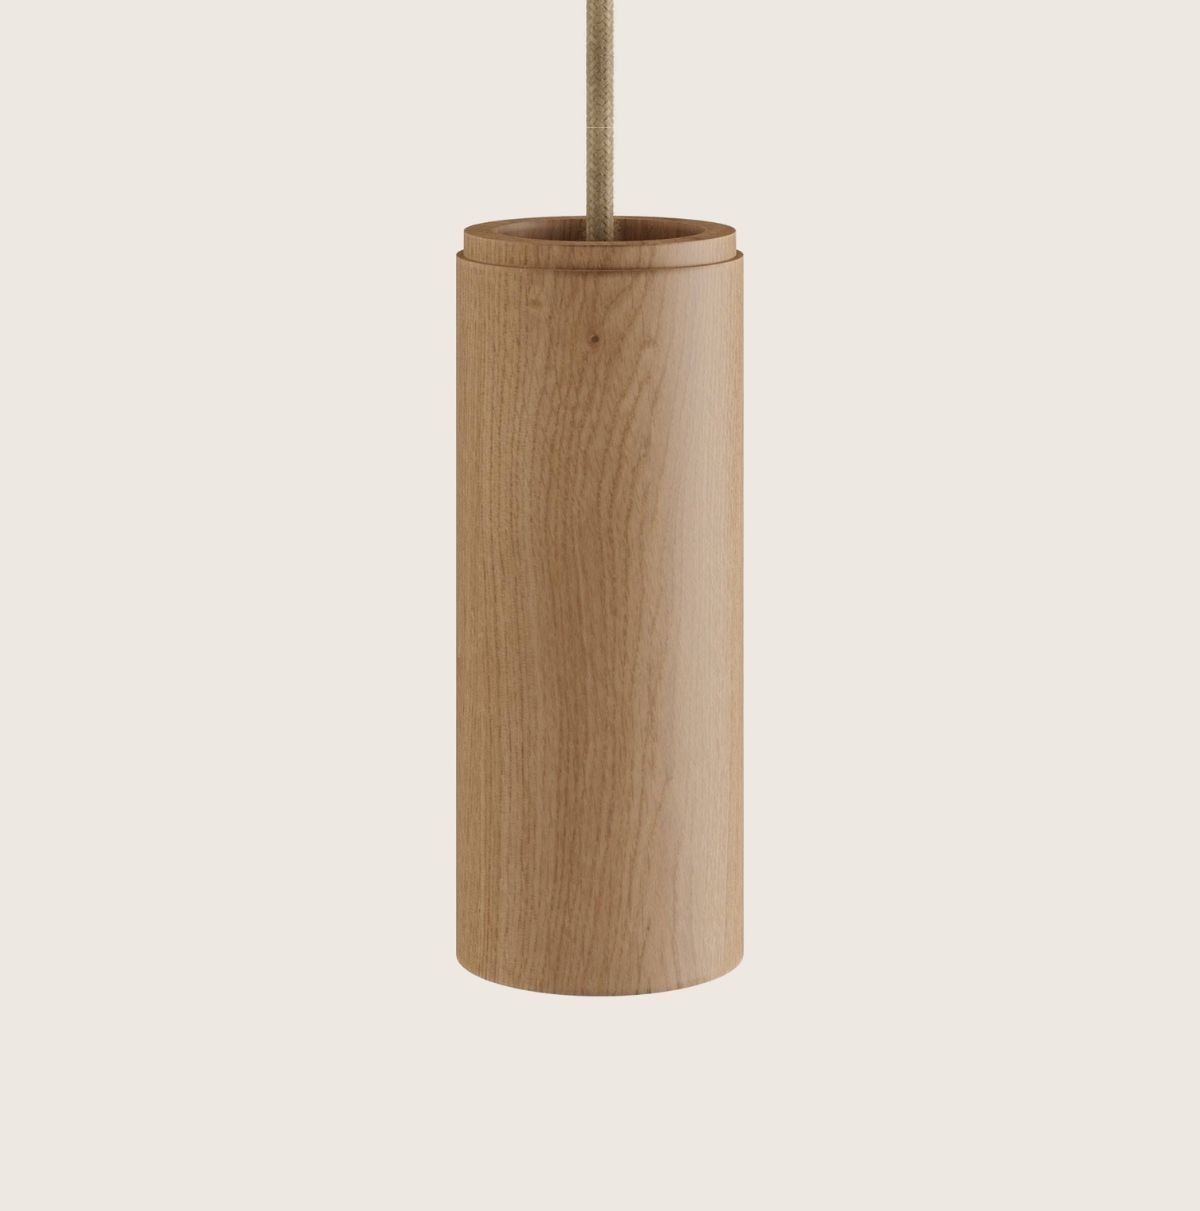
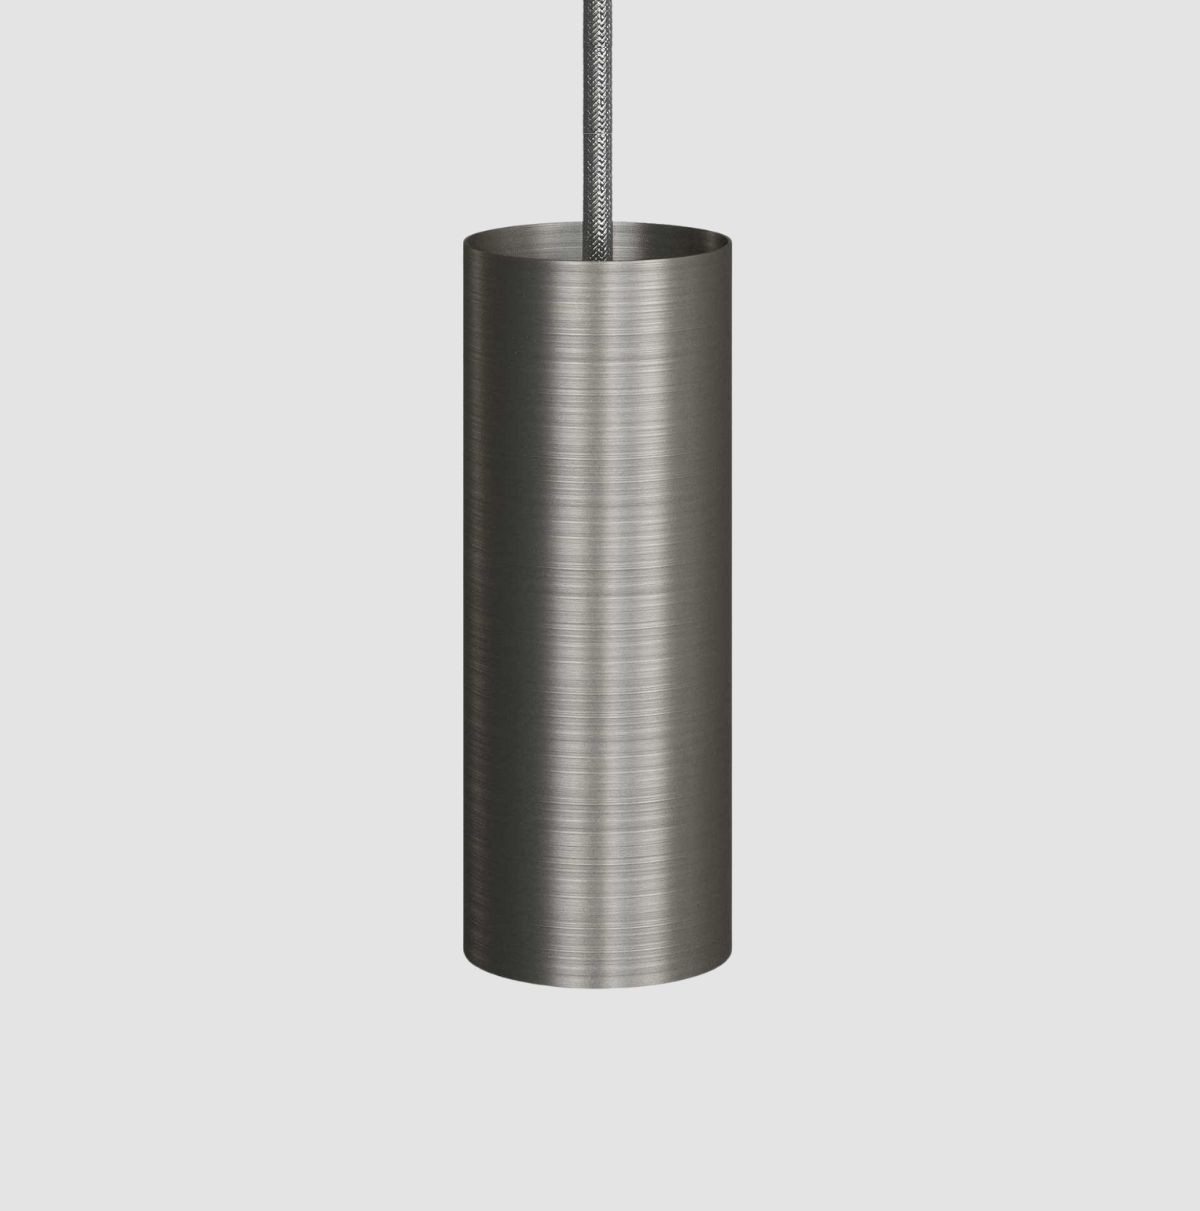
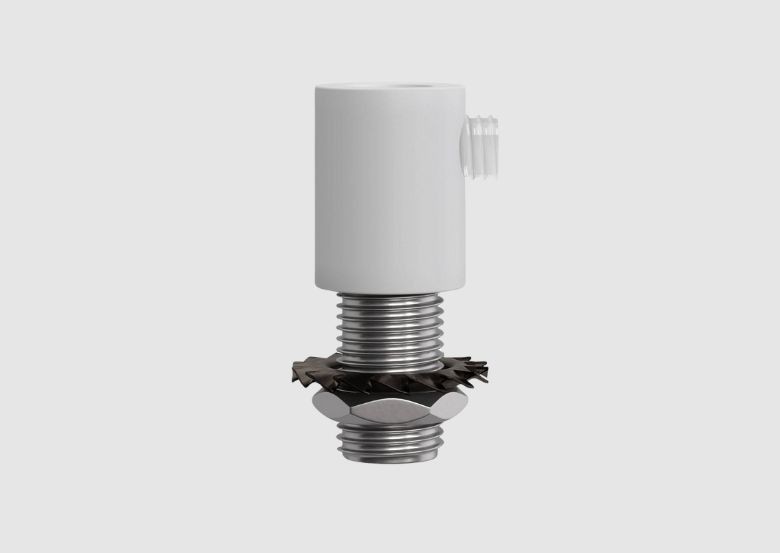
For our guide today, we will refer to a lamp holder with a threaded body and 2 rings, made of thermoplastic material, which you can find, together with many others, in our store.
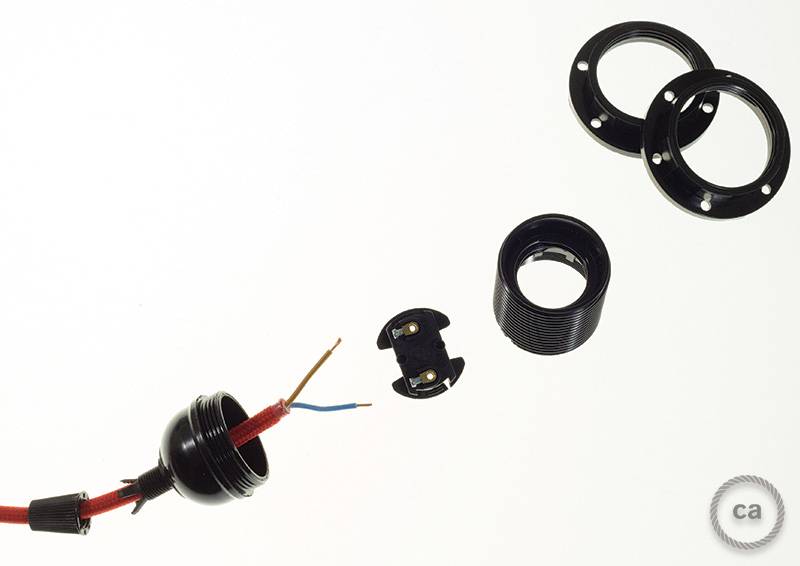
We often receive requests for information about how to connect a lamp holder to our cables and create a first and primitive lamp: well, it's not complicated at all, and today we will find out how to do it! The first step to take is to disassemble the lamp holder and separate all its parts. Unscrew the two rings from the threaded body, which will be needed later to secure the lampshade, and the threaded body itself. We will remain with the back part of the lamp holder, which contains the contacts and to which the cable clamp, mounted. To separate the contacts from this part, it is necessary to intervene on the anti-loosening mechanism, a locking system that prevents the upper ring from unscrewing when removing the bulb by unscrewing it.
To perform this operation, it will be sufficient to lift the metal tab inside it with the help of a screwdriver, until it has passed the plastic block on the lamp holder body: easy, right? We remind you to carry out all these operations STRICTLY WITH THE ELECTRIC CURRENT OFF, for your safety.
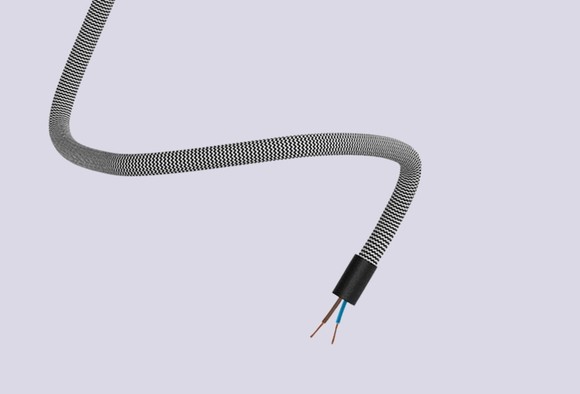
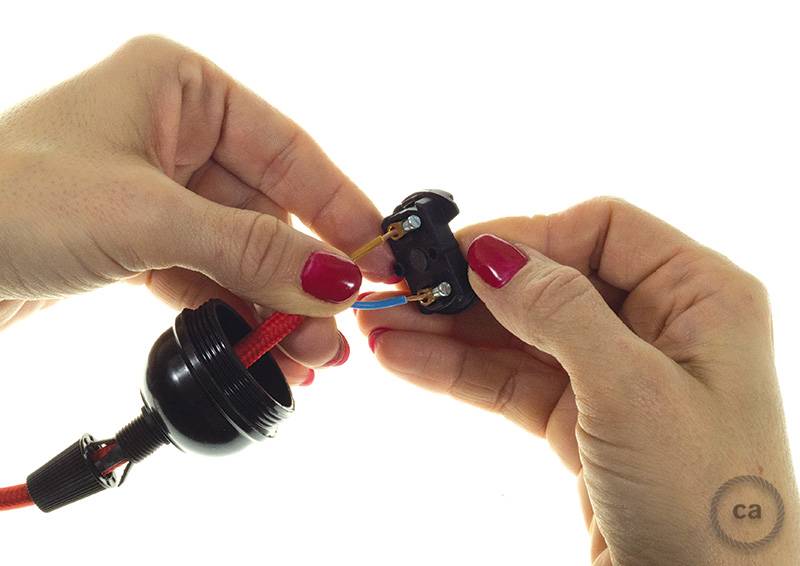
At this point, unscrew the cable clamp and proceed to insert the electrical cable, which we have previously stripped (if you don't remember how to do it, you can review it with our guide on how to strip textile cables!), into the two contacts.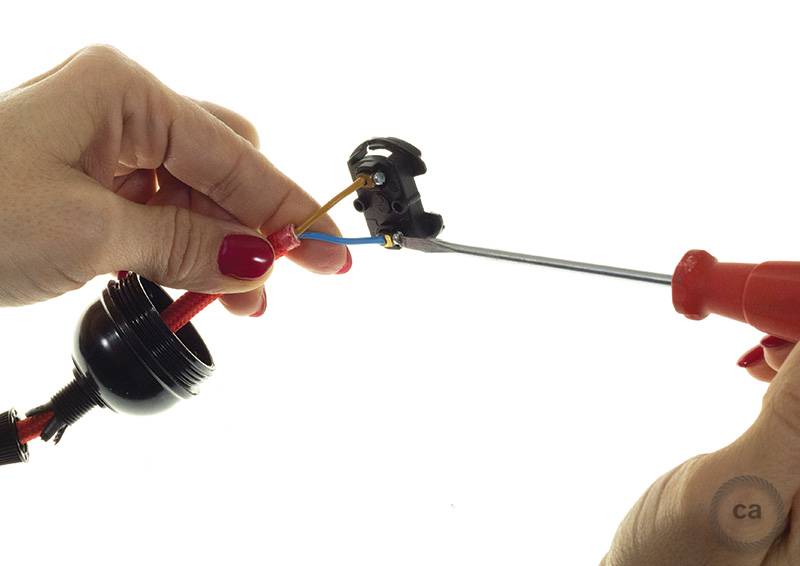
To perform this operation, it will be sufficient to lift the metal tab inside it with the help of a screwdriver, until it has passed the plastic block on the lamp holder body: easy, right? We remind you to carry out all these operations STRICTLY WITH THE ELECTRIC CURRENT OFF, for your safety.
At this point, unscrew the cable clamp and proceed to insert the electrical cable, which we have previously stripped (if you don't remember how to do it, you can review it with our guide on how to strip textile cables!), into the two contacts.
Insert the two segments of electrical wire into the contacts, stripped to expose the copper filaments inside, tighten the contact screws firmly with our cutting screwdriver. All good? The hardest part is already behind us!
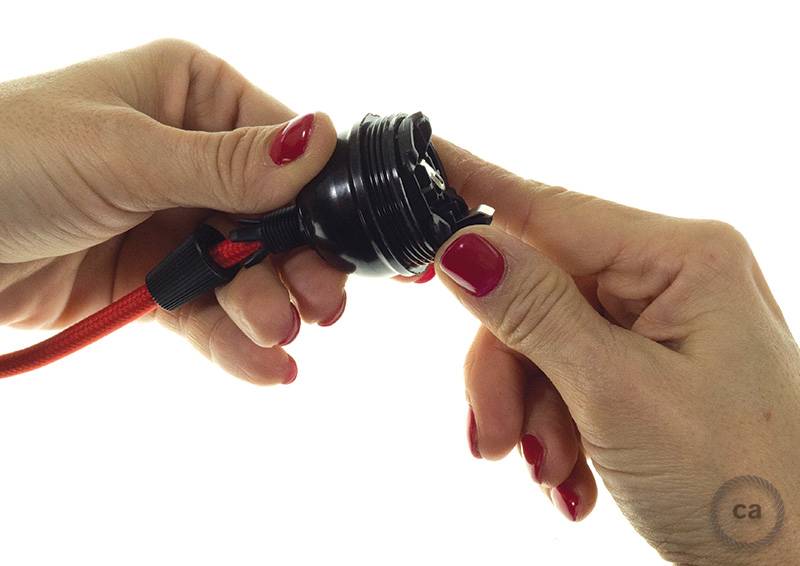
Reposition the contacts in the back of the lamp holder, being careful to make the anti-loosening mechanism snap to ensure that the components are well closed and firm, rotating the contact block in the opposite direction to that which previously served to unlock the lamp holder.
Reposition the contacts in the back of the lamp holder, being careful to make the anti-loosening mechanism snap to ensure that the components are well closed and firm, rotating the contact block in the opposite direction to that which previously served to unlock the lamp holder.
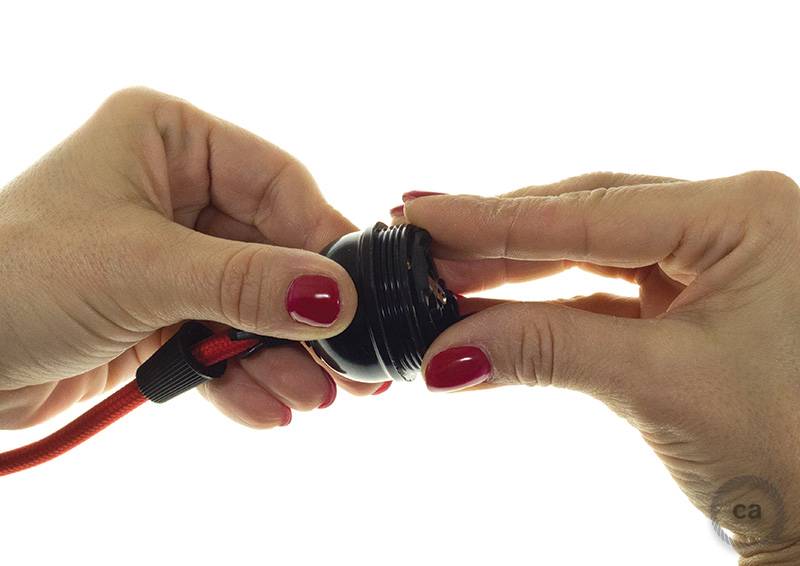
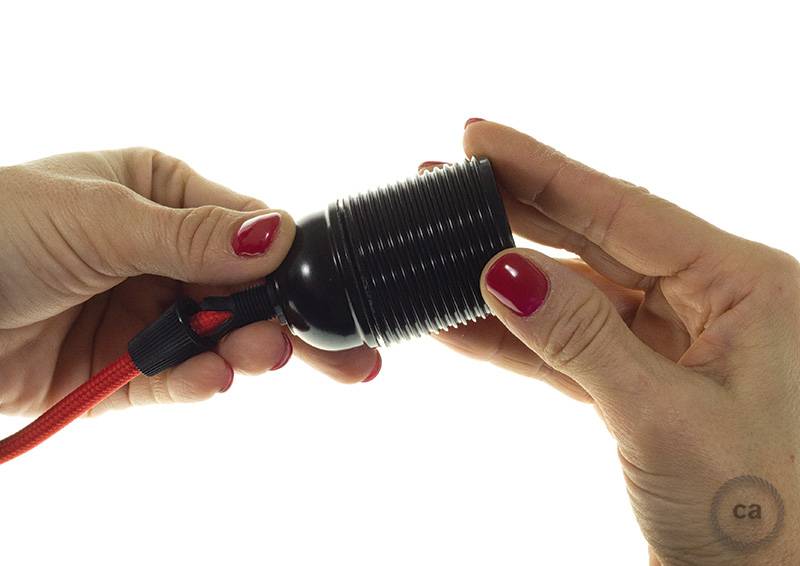
We have almost finished mounting our lamp holder, connecting it to the textile cable. Once the contacts are connected to the back, screw the cable clamp back on to hold the cable in place, and the threaded body: everything is ready to screw in the light bulb and give a new light to our home!
All clear? Did you manage it, or did you have any problems? Write to us in the comments, and let us know what tutorials you would like to see in the future!
All clear? Did you manage it, or did you have any problems? Write to us in the comments, and let us know what tutorials you would like to see in the future!


0 Comments